

How to sew a knit binding
In some patterns, you will see a binding technique that might be different from what you have seen before. Don't be intimidated! If you go slowly and understand the purpose of each step it will be very easy and you will have a very professional finish on your garment.
Here are some photos to complement the instructions of patterns 3245 raglan tee / racerback tank, 3024 knit dress, 3352 dolman top, 3246 maxi dress, 3138 gymnastics leotard (for armholes without elastic!), 3136 skating dress and 3133 baby bodysuits. We hope they will give you the confidence to try this binding method :)
PREPARE BINDING AND NECKLINE
Depending on the pattern, you can use this technique flat or in the round.
If you are sewing in the round:
- Fold binding in half to mark it's center
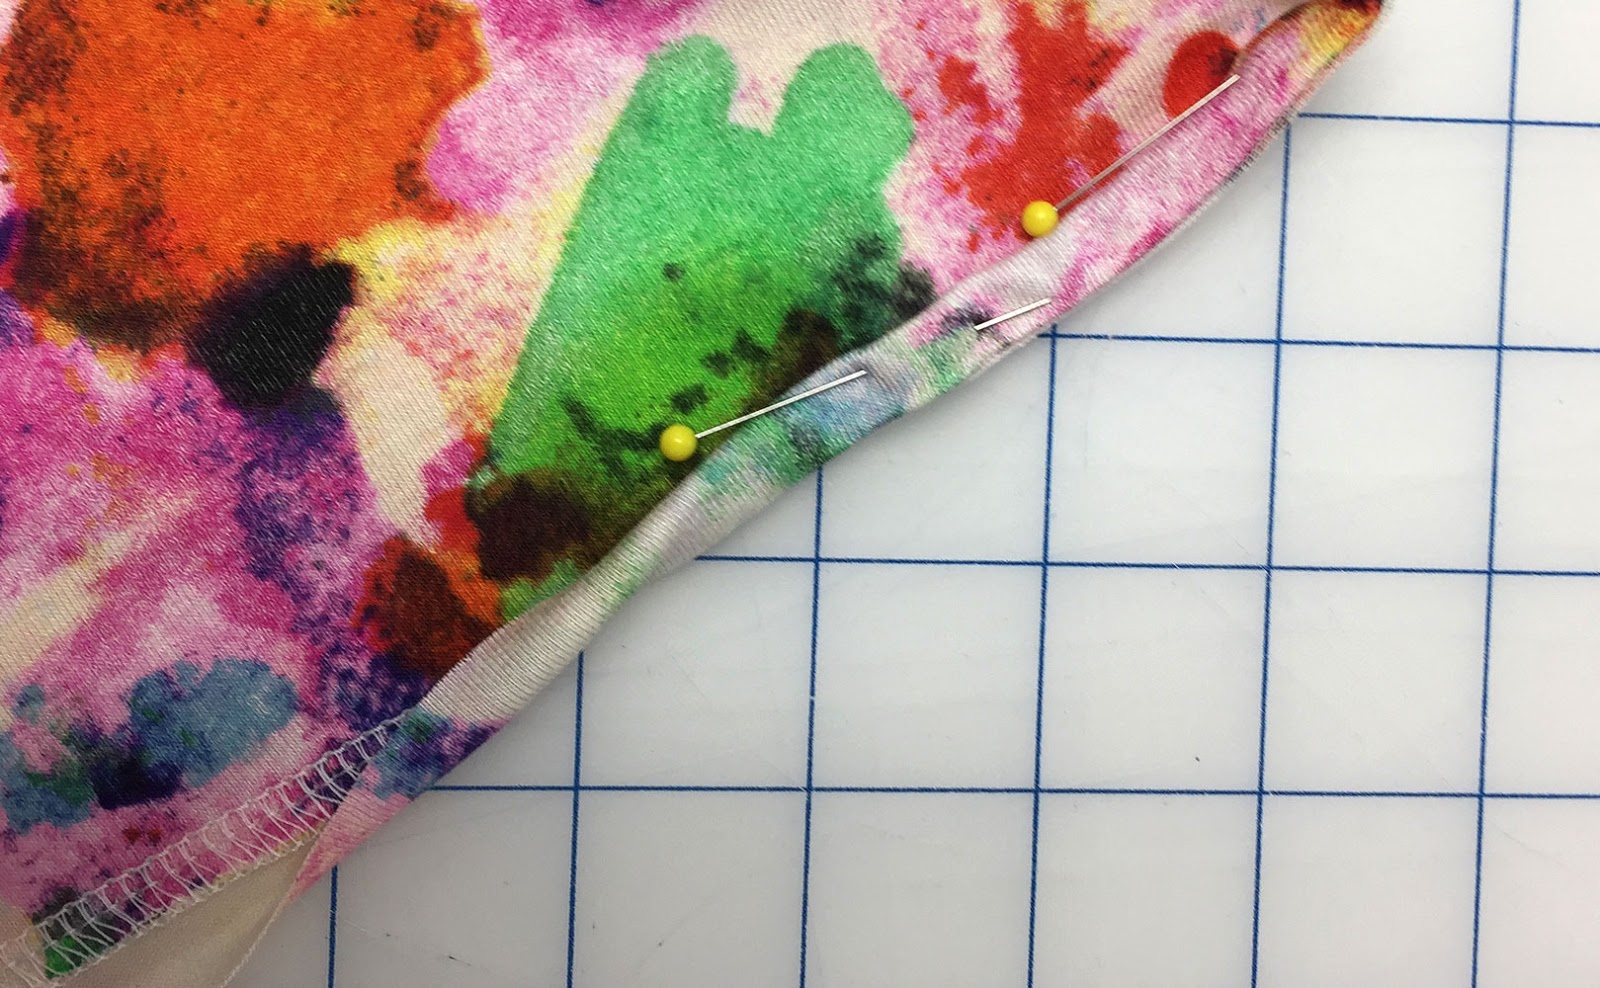
- Sew the ends of the binding right sides together, 6 mm (1/4'') from edge to form a loop
- Bring the seam against the center mark to divide into fourths. Mark with pins.
- Mark center front and center back on the neckline. Bring the marks together to mark fourths with pins.
ATTACH BINDING TO NECKLINE
Pin RIGHT SIDE of binding to WRONG SIDE of neckline, matching centers and marks: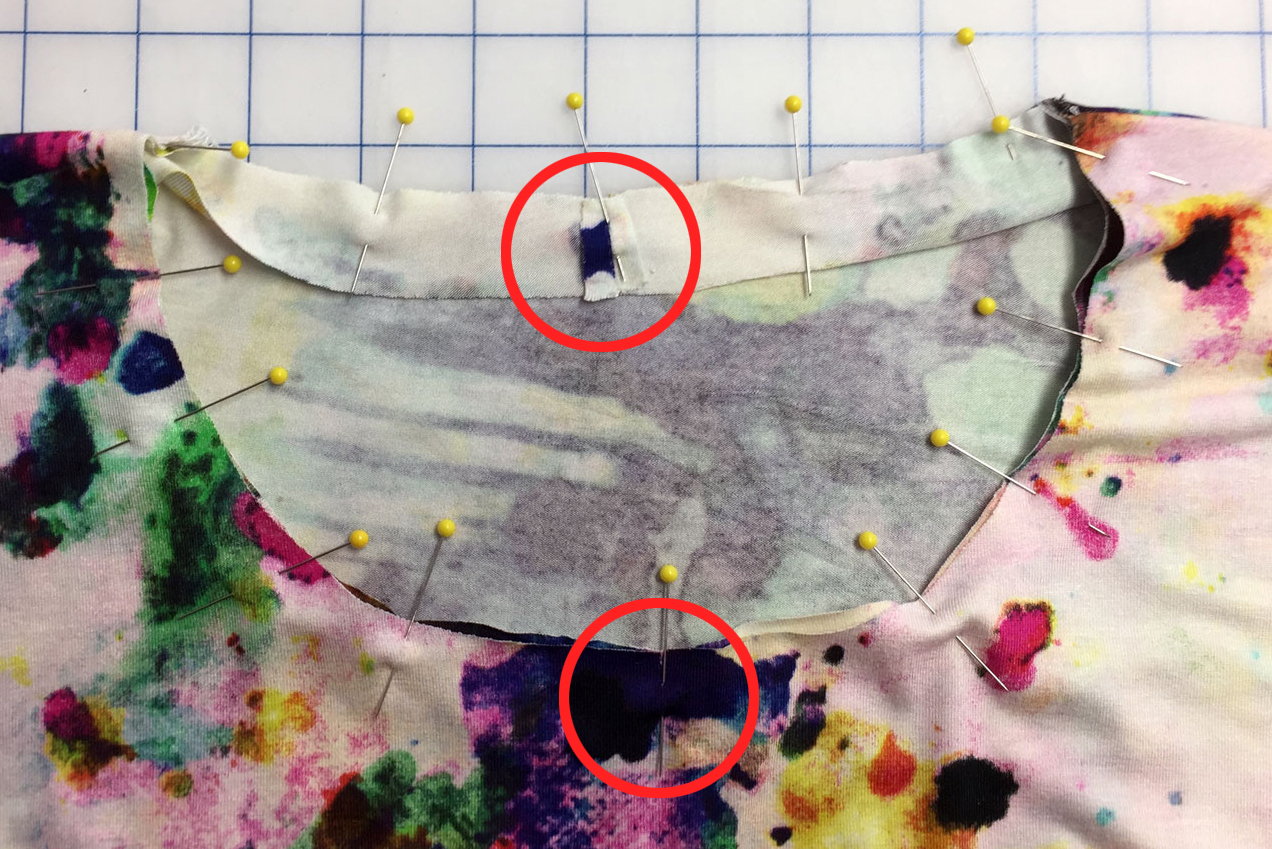
Stitch 6 mm (1/4'') from edge, stretching the binding to fit the neckline. We use a serger, but this can be done with a regular sewing machine: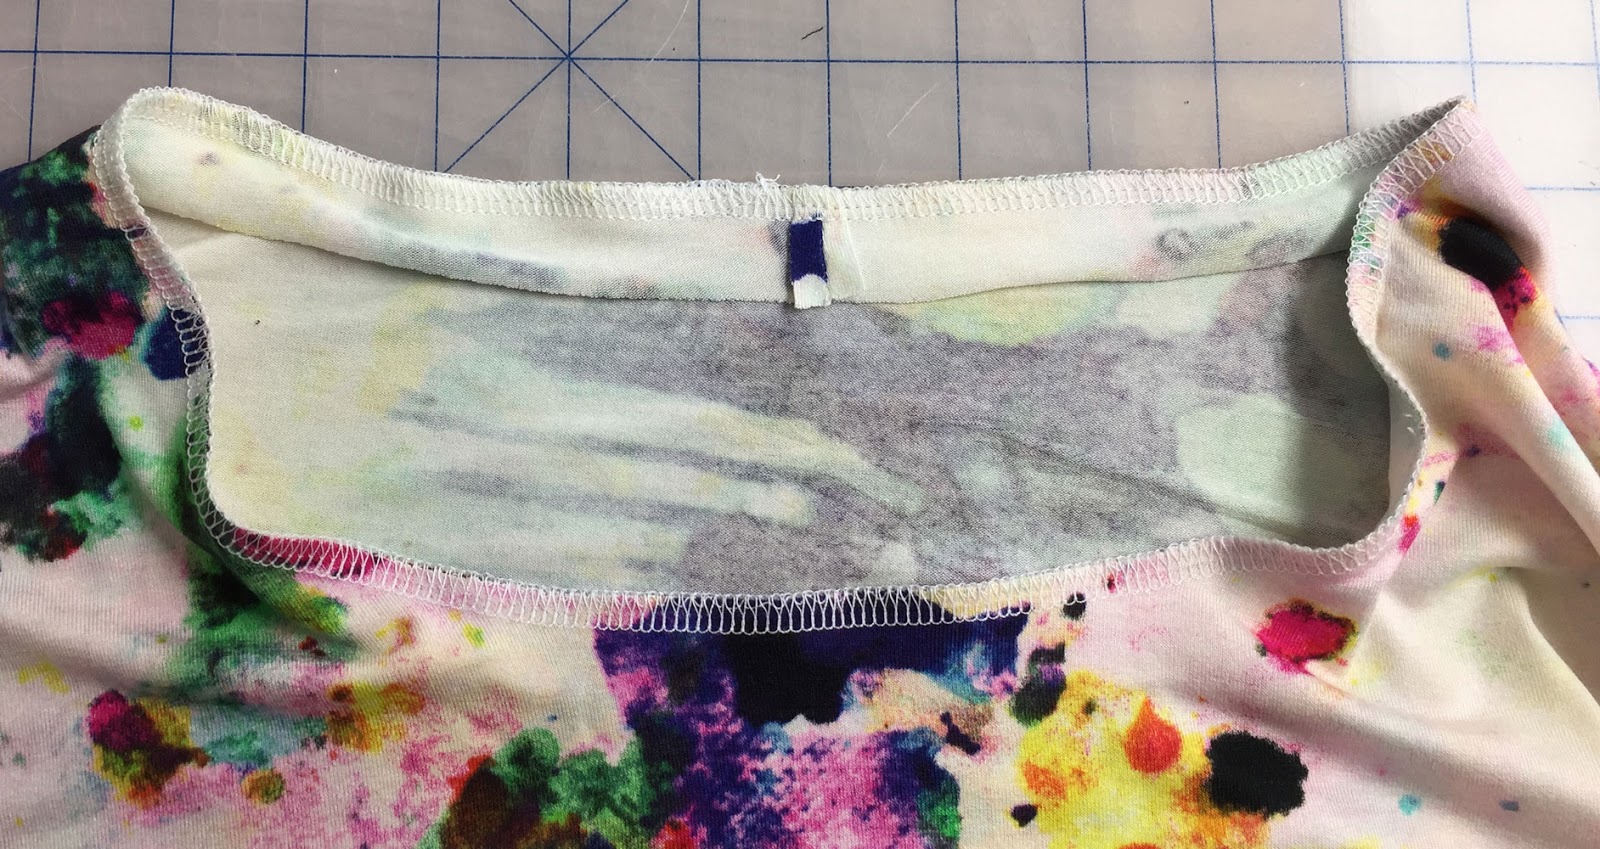
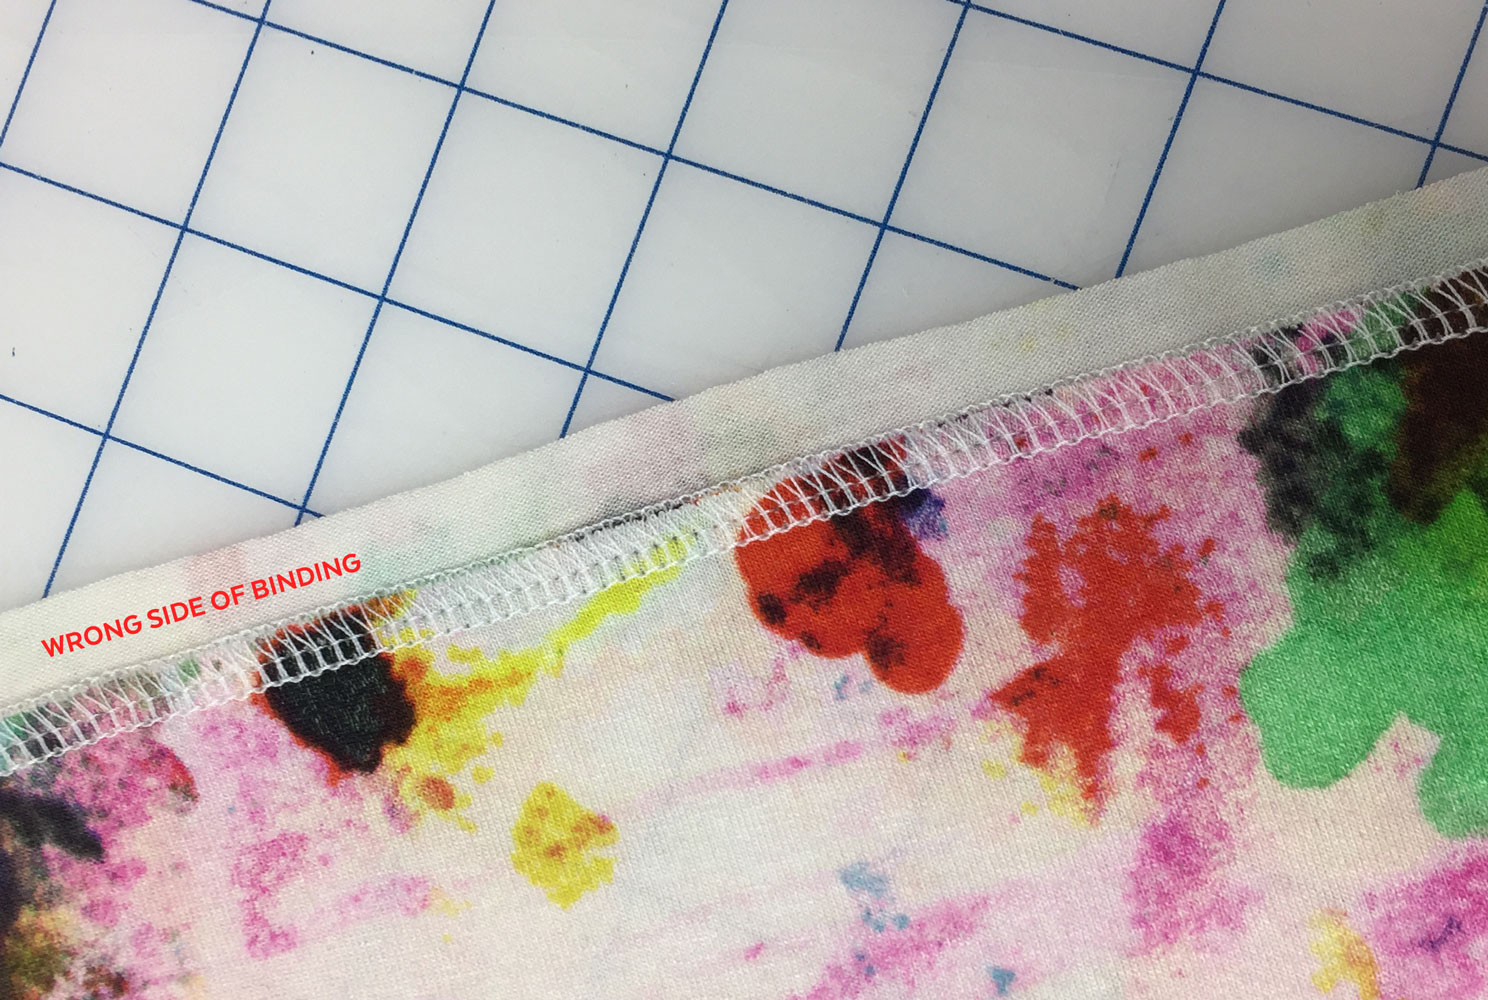
Bring seam allowance towards the opening so you can see its wrong side. Press gently, it will help you manipulate the fabric:
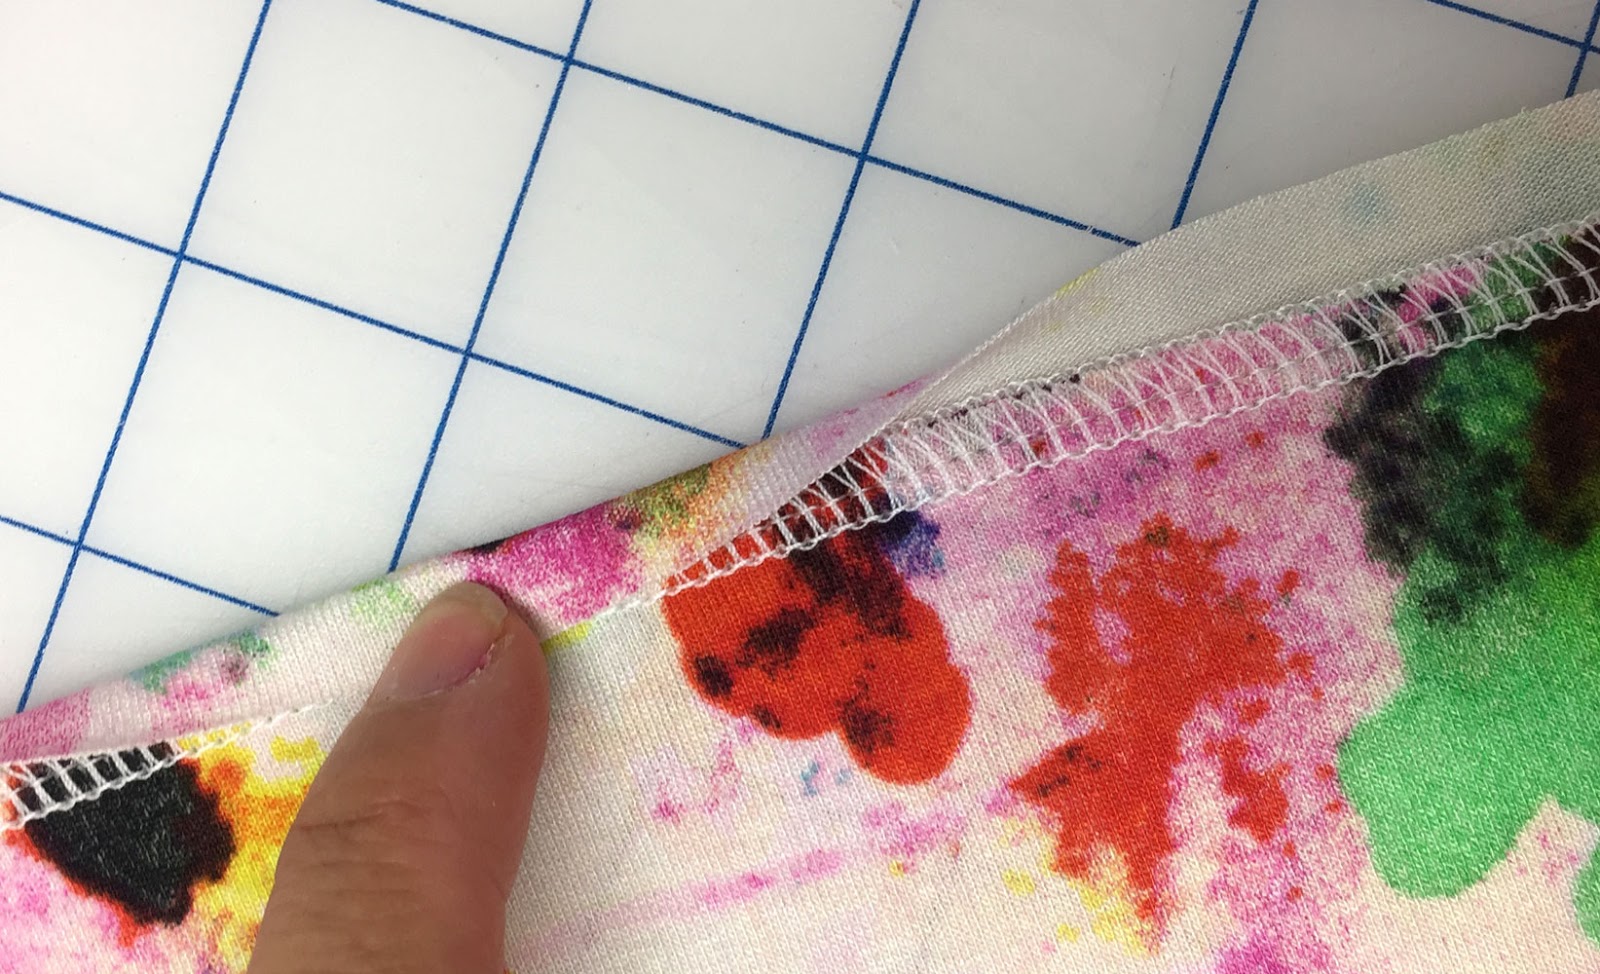
Now you grab the wrapped seam allowance and bring it to the right side of the neckline and pin it:
You are ready to topstitch! After a few necklines, you will be able to fold twice at the sewing machine to save some time :)

Topstitch as close to the edge as you can, stretching a tiny bit to keep everything nice and flat but DO NOT stretch the NECKLINE otherwise you will end up with a wavy binding:

The final result! No raw edge visible, no trimming to do either:

Just like any sewing technique, practice makes perfect. You will notice with experience that fabric stretch and texture can have an impact on how the binding is at the end. If your fabric is verrrrry stretch, you will feel that you have too much fabric and the binding will not stay flat at the end. Don't hesitate to adjust the length of your binding if you notice that it's equal or longer than the neckline when you pin it.
Practice with scraps of fabric before tackling the neckline of your favorite-top-to-be. Experiment with different stitch lengths, pressure and you will become the binding expert :)
Happy sewing!

← A Patch Pocket for your Nico (free template) How to apply elastic →