How to Make a Lined / Reversible CHARLIE jacket
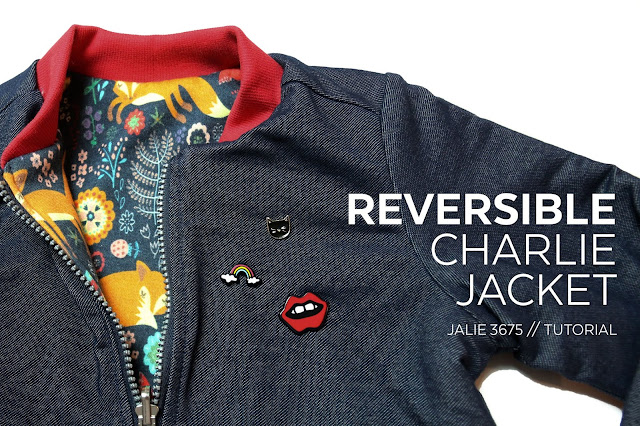
Our CHARLIE bomber jacket pattern has been amongst the best-selling patterns since its release. People love the free step-by-step video tutorial but many asked us how to line the jacket.
A lining hides pockets and seam allowances, can add a pop of colour to a solid jacket and making it reversible is pretty fun. We lined a CHARLIE for the HENRI joggers pattern photo shoot:
 |
| Lined CHARLIE bomber jacket with HENRI joggers and NICO t-shirt |
Here is how we did it. This tutorial complements the pattern instructions (included in the pattern and available online).
PATTERN PIECES
Cut your pieces as shown above. You do not need to modify / alter any pieces for this.
- Main fabric: As shown in the pattern (jacket + pocket welts)
- Ribbing: As indicated in the pattern (collar, cuffs and hem)
- Lining: Two sleeves, one back (cut on fold) and two front pieces
For the pockets, use the fabric you want (outer fabric or lining).
ZIPPER
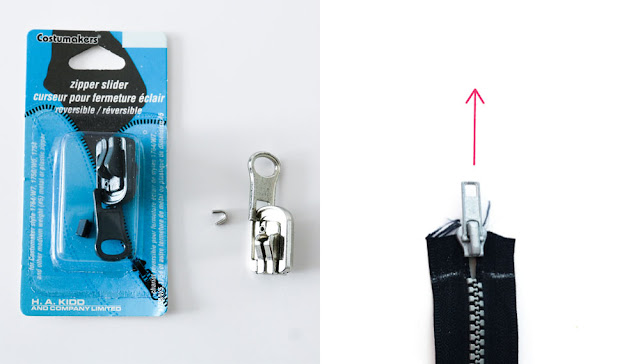
Reversible zippers can be a bit difficult to find and are quite expensive. A good workaround is to use a SEPARATING zipper and buy a REVERSIBLE ZIPPER SLIDER separately. Those are easier to find and more affordable. The cursor comes with a zipper stop.
At step 12 of the instructions, when you cut the excess zipper (removing the stop at the same time), remove the regular cursor, replace with the reversible cursor. Then, remove the teeth with pliers as shown in the instructions and install the new stop. You now have a reversible zipper!
ASSEMBLY
Follow steps 1 to 16 (which includes the pockets) to assemble the outer fabric and lining separately. IMPORTANT: Leave a section open when sewing one of the pockets. That opening will be used to turn the garment right side out at the end: |
| Opening in the pocket pouch to turn the jacket right side out |
Here are the outer layer and lining, ready to be sewn together:
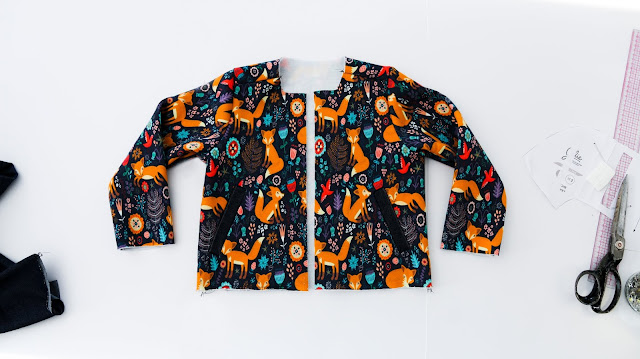 |
| Outer fabric with pockets |
 |
| Lining |
RIBBING (CUFFS AND HEM)
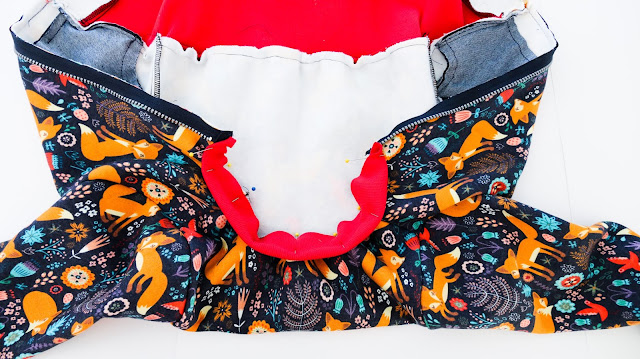
Assemble the waistband with its facing (step 17). Sew one long edge of the band to the bottom edge of the outer fabric, right sides together.
Bring the hem band down, pin it to the bottom edge of the lining, right sides together and stitch.
SEWING THE ZIPPER
Pin right side of zipper to right side of front, with the bottom of the zipper aligned with the center of the facing and stitch.
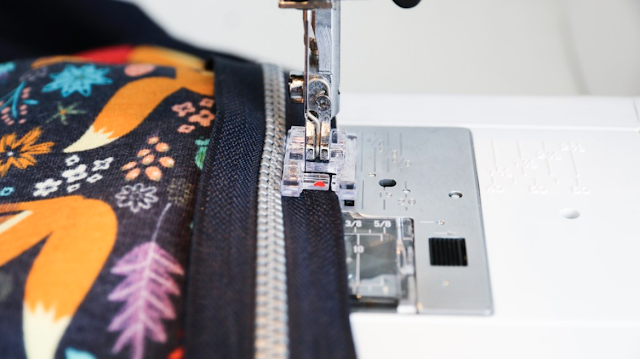
On your machine, set needle position to "left" to make your life easier and stitch closer to the zipper teeth:
Little trick: Mark the band seam location on both sides of the zipper. This mark will be your guide when pinning the other side to the front.

Pin the other zipper tape to the other side of the front and stitch. Your zipper is in!
COLLAR
Attach the collar to the outer fabric, steps 24-26 of the pattern:
Then, bring outer fabric and lining right sides together and stitch along front edges and at neckline, making sure shoulder and waistband seams are aligned.
Clip corners:
Bring hem band wrong sides together and baste to hold together:
Sew cuffs to bottom of sleeves (steps 31-34):
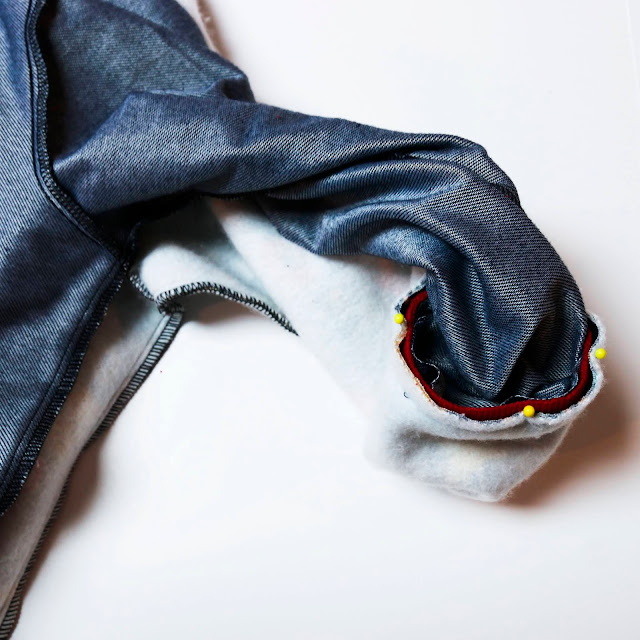
Fold bottom of sleeve lining wrong sides together like this:
Insert the folded sleeve (lining) into the outer fabric sleeve so that raw edges are together. Align seams, make sure the sleeves are not twisted and stitch:
Tack armhole / underarm intersection of outer fabric and lining together.
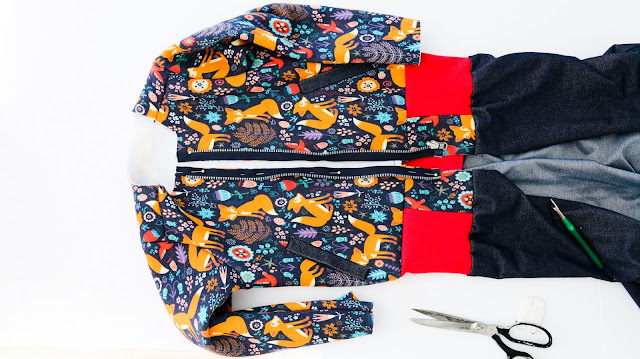
Your jacket now looks like a bit puzzle. Rest assured, everything is alright! Remember that opening in the pocket pouch? Turn the entire garment right side out through it. Then, take the pocket pouch out and stitch the small opening shut (hand stitch or with your machine).
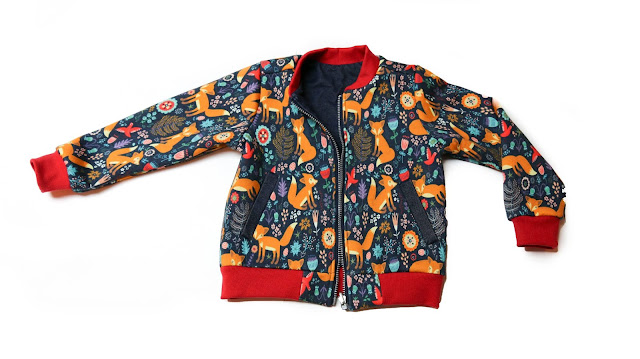
You now have a lined / reversible CHARLIE jacket!
← Swimwear inspiration for kids MICHELLE // Full Bust Adjustment (FBA) (on a Dartless Tank) →


