

Racerback COCO Sports Bra // Step-by-step Tutorial
Earlier this summer, we showed you how to make the COCO sports bra with a crossover back. Today, we are showing you how to sew the racerback view.
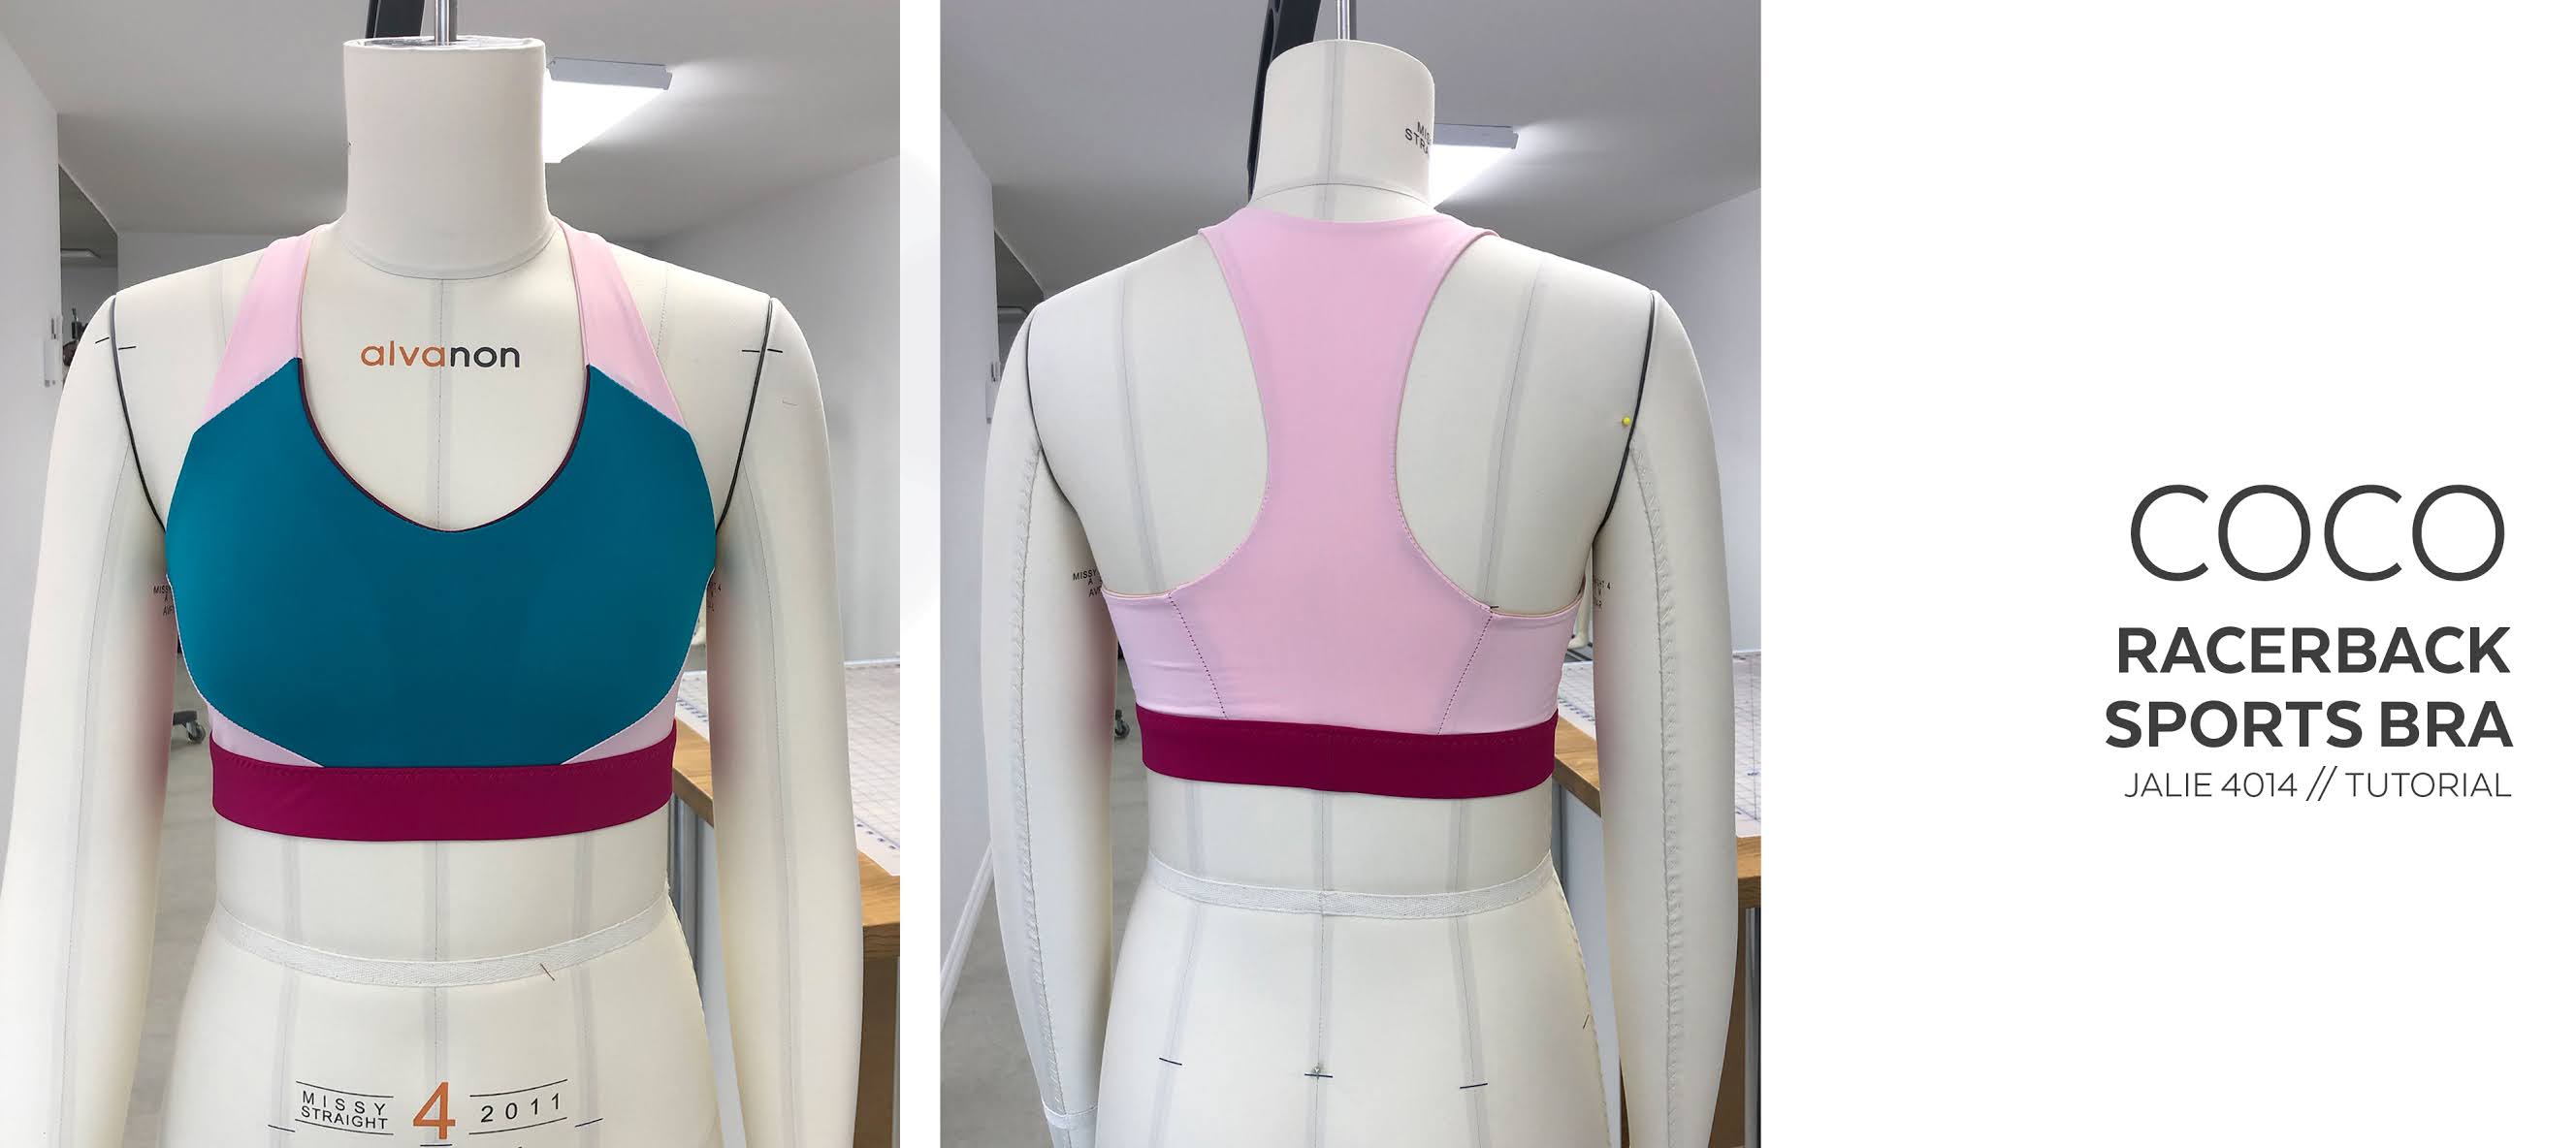
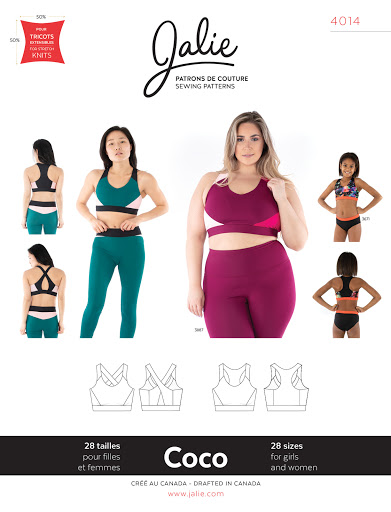
The COCO pattern is available on our website, in printed (paper) format, but also in PDF format, which includes print-at-home, copy shop (A0) and projector files. You can also buy the paper patterns from one of our resellers.
The first ten steps of construction for both views are the same. This post will cover the straps, armholes, and back. These extra photos and explanations should help you with some steps that were a bit tricky to illustrate. For the steps common to both views, please read to the first COCO post.
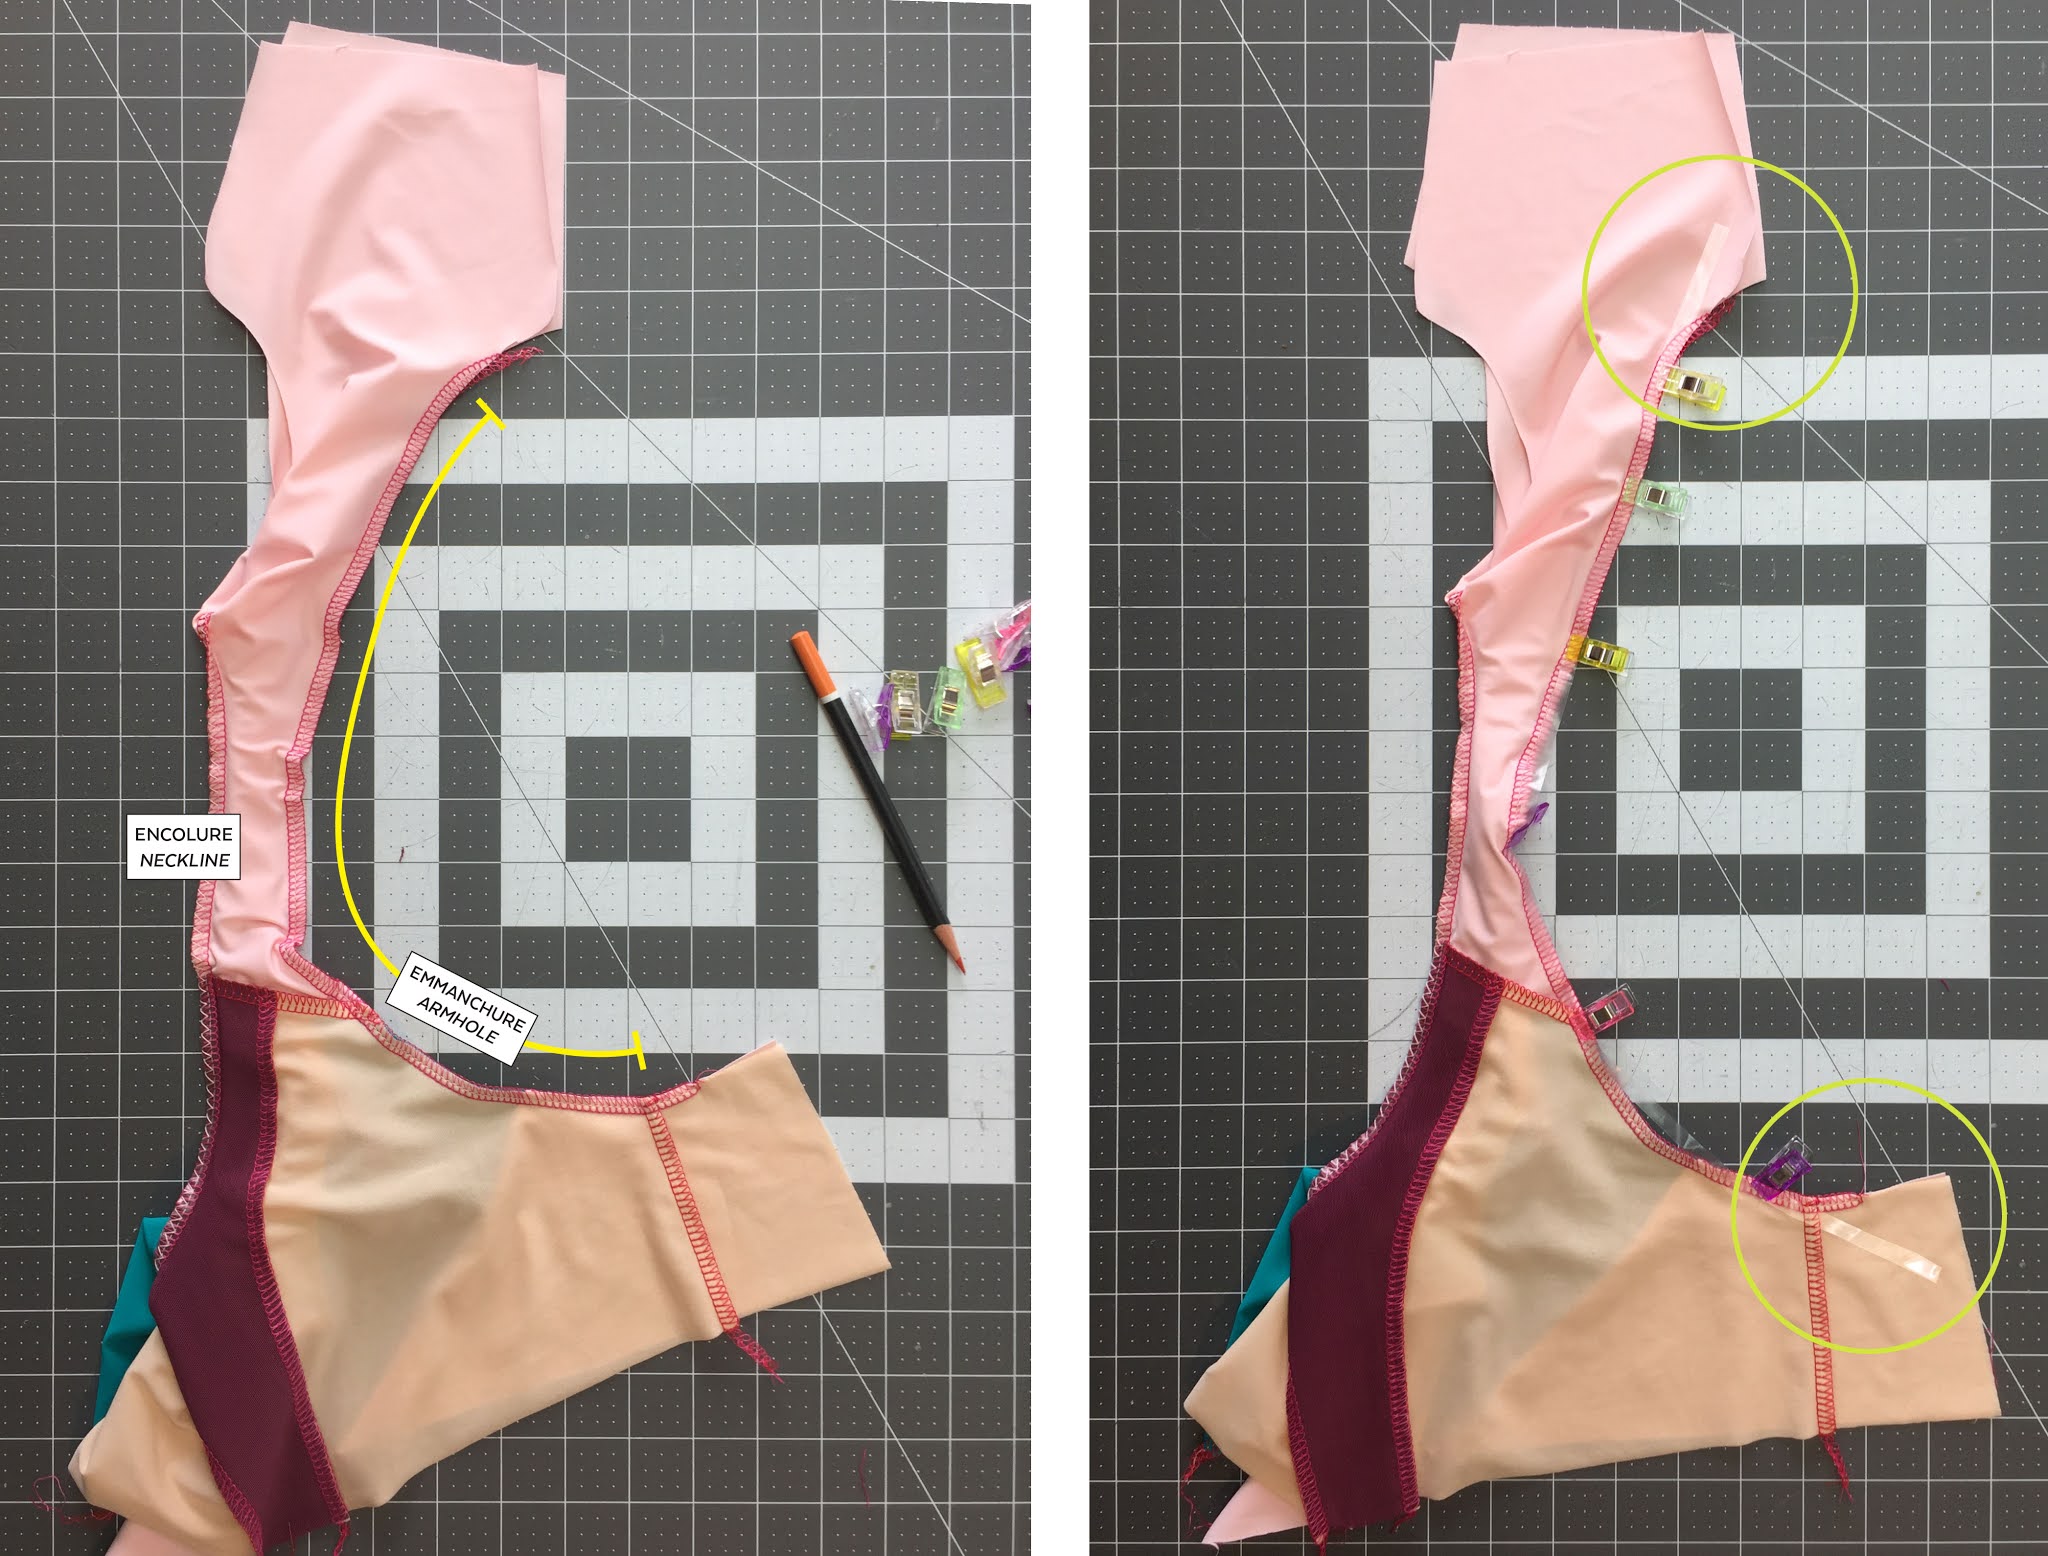
STRAPS AND NECK OPENING
After you have completed the front assembly, in both main fabric and lining, you are ready to attach the strap to both pieces. Pin the outer fabric strap to the outer fabric front. Stitch and press the seam allowances towards the center.
Repeat for the lining, but press the seam allowances OUTWARDS:

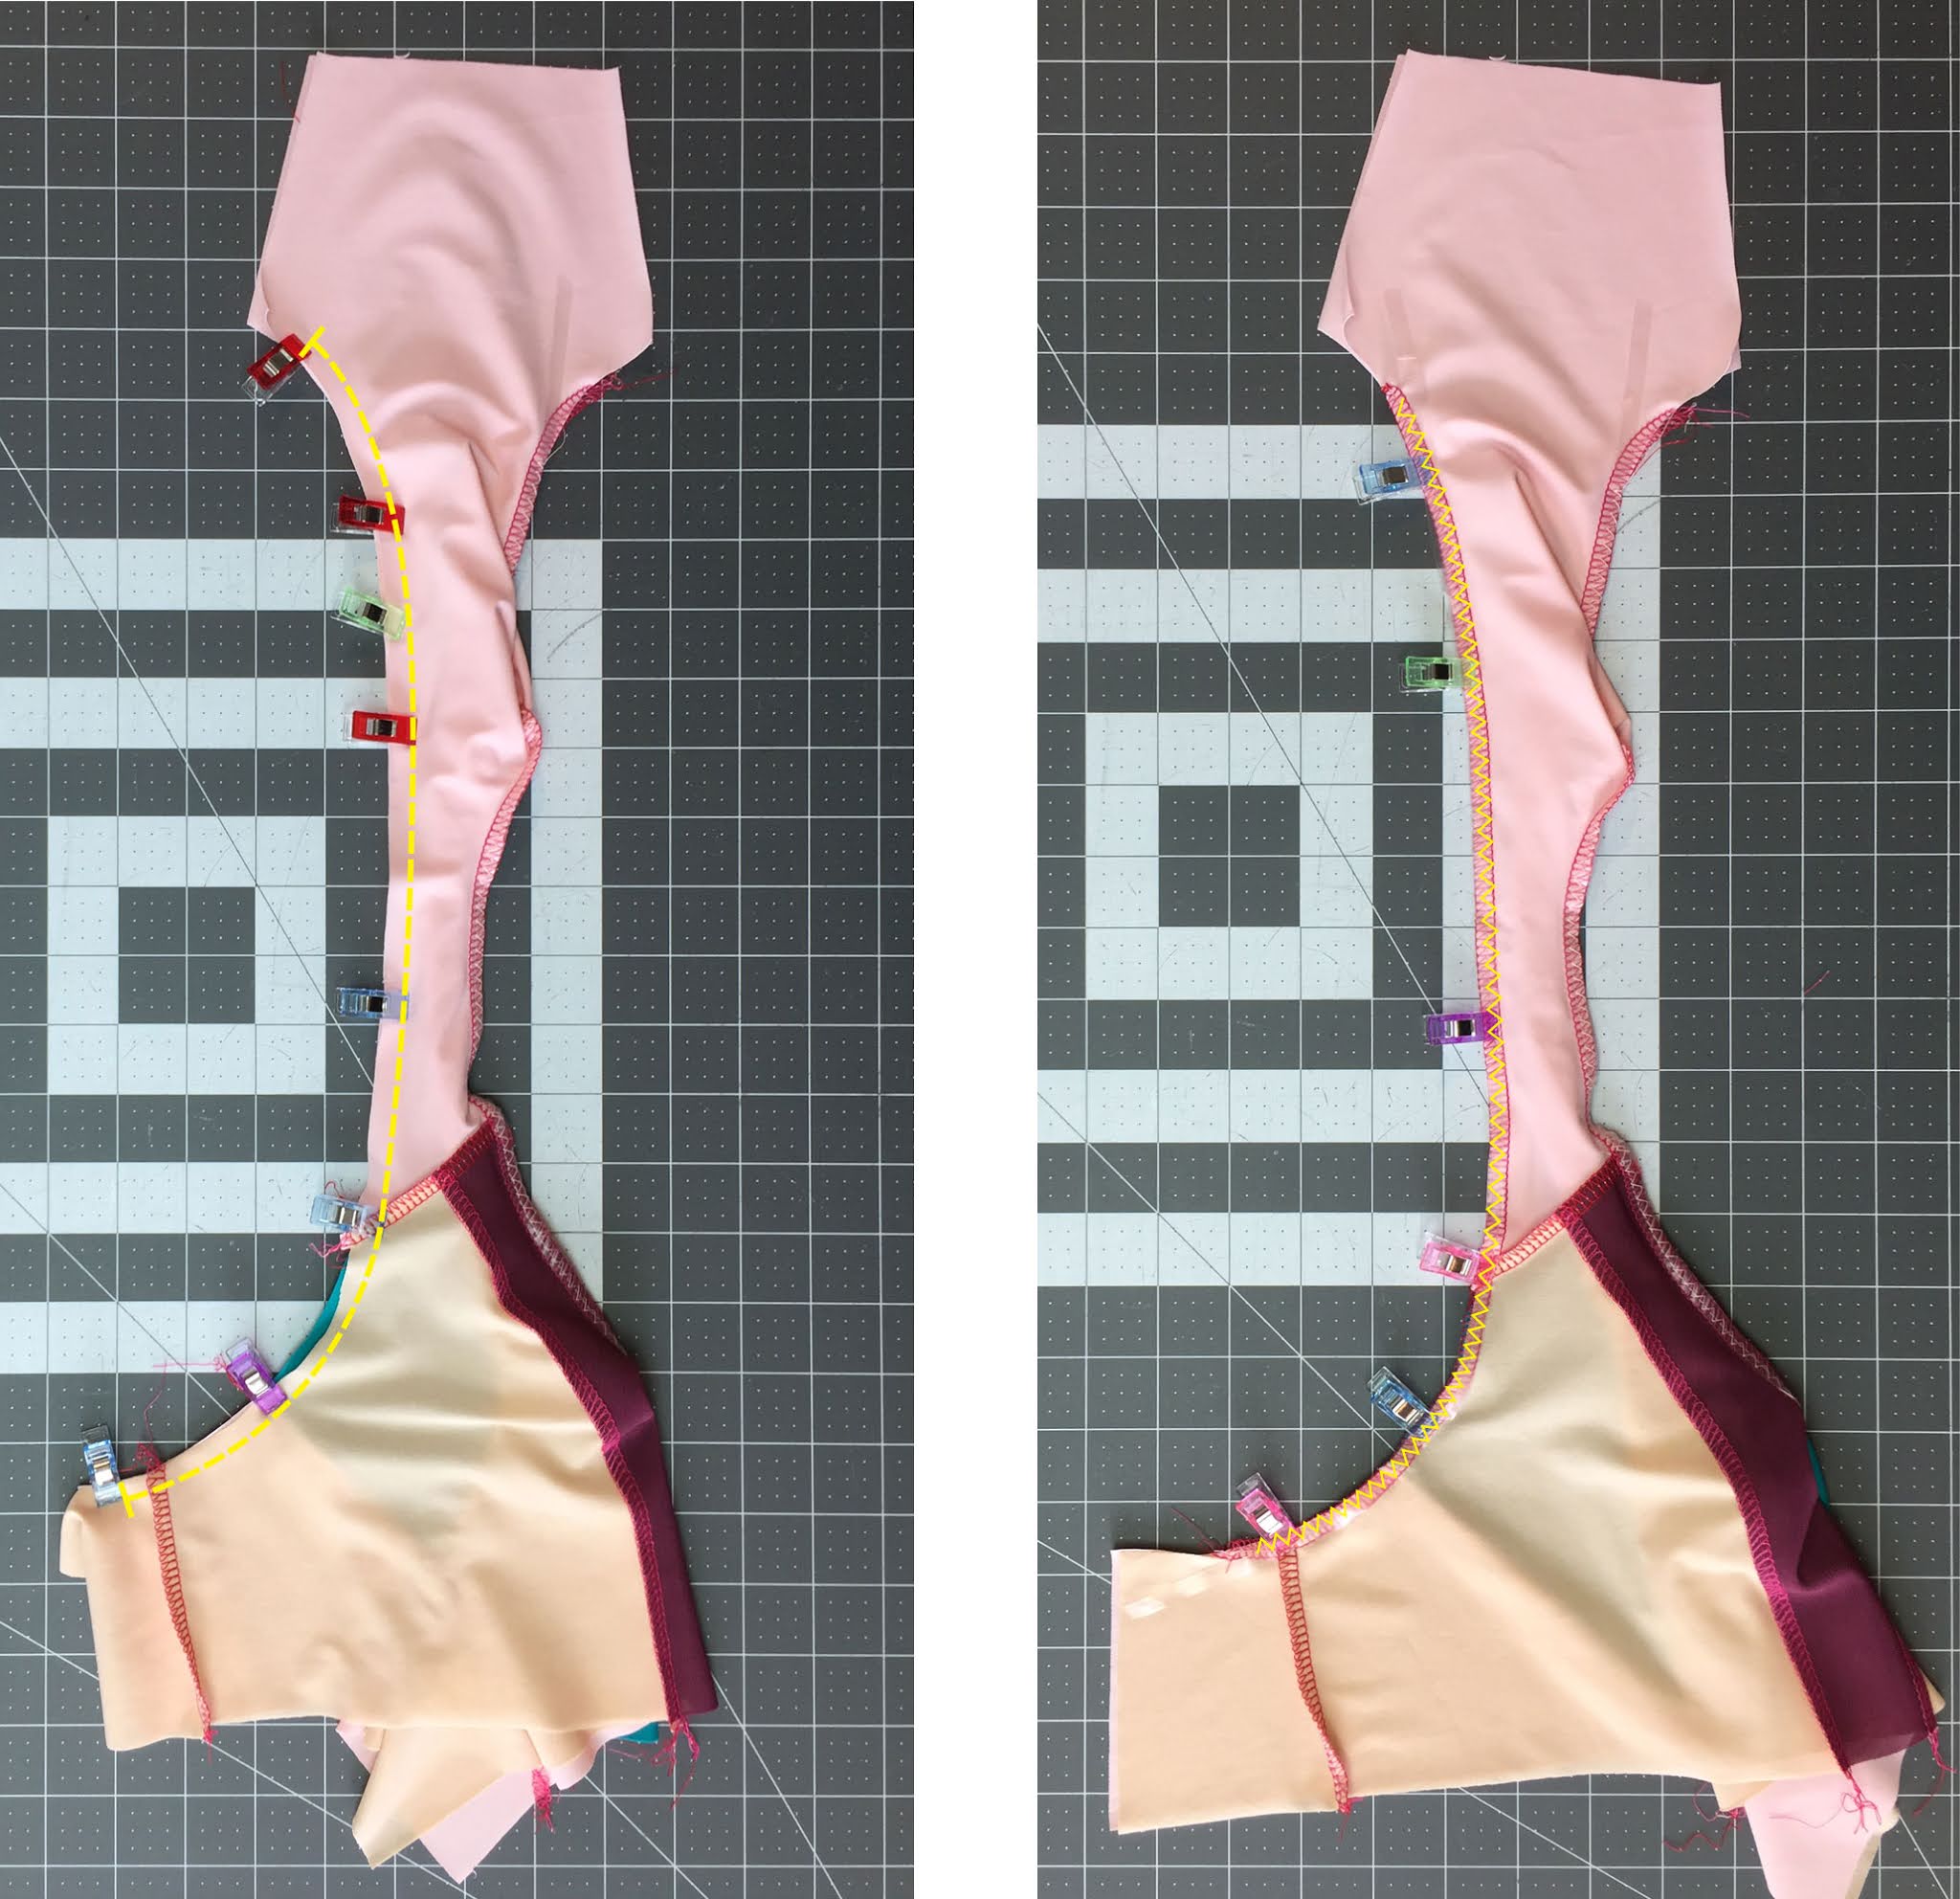
Pin main fabric to lining and sew along the neck opening:

Apply clear elastic to the SEAM ALLOWANCE, using a zigzag stitch:

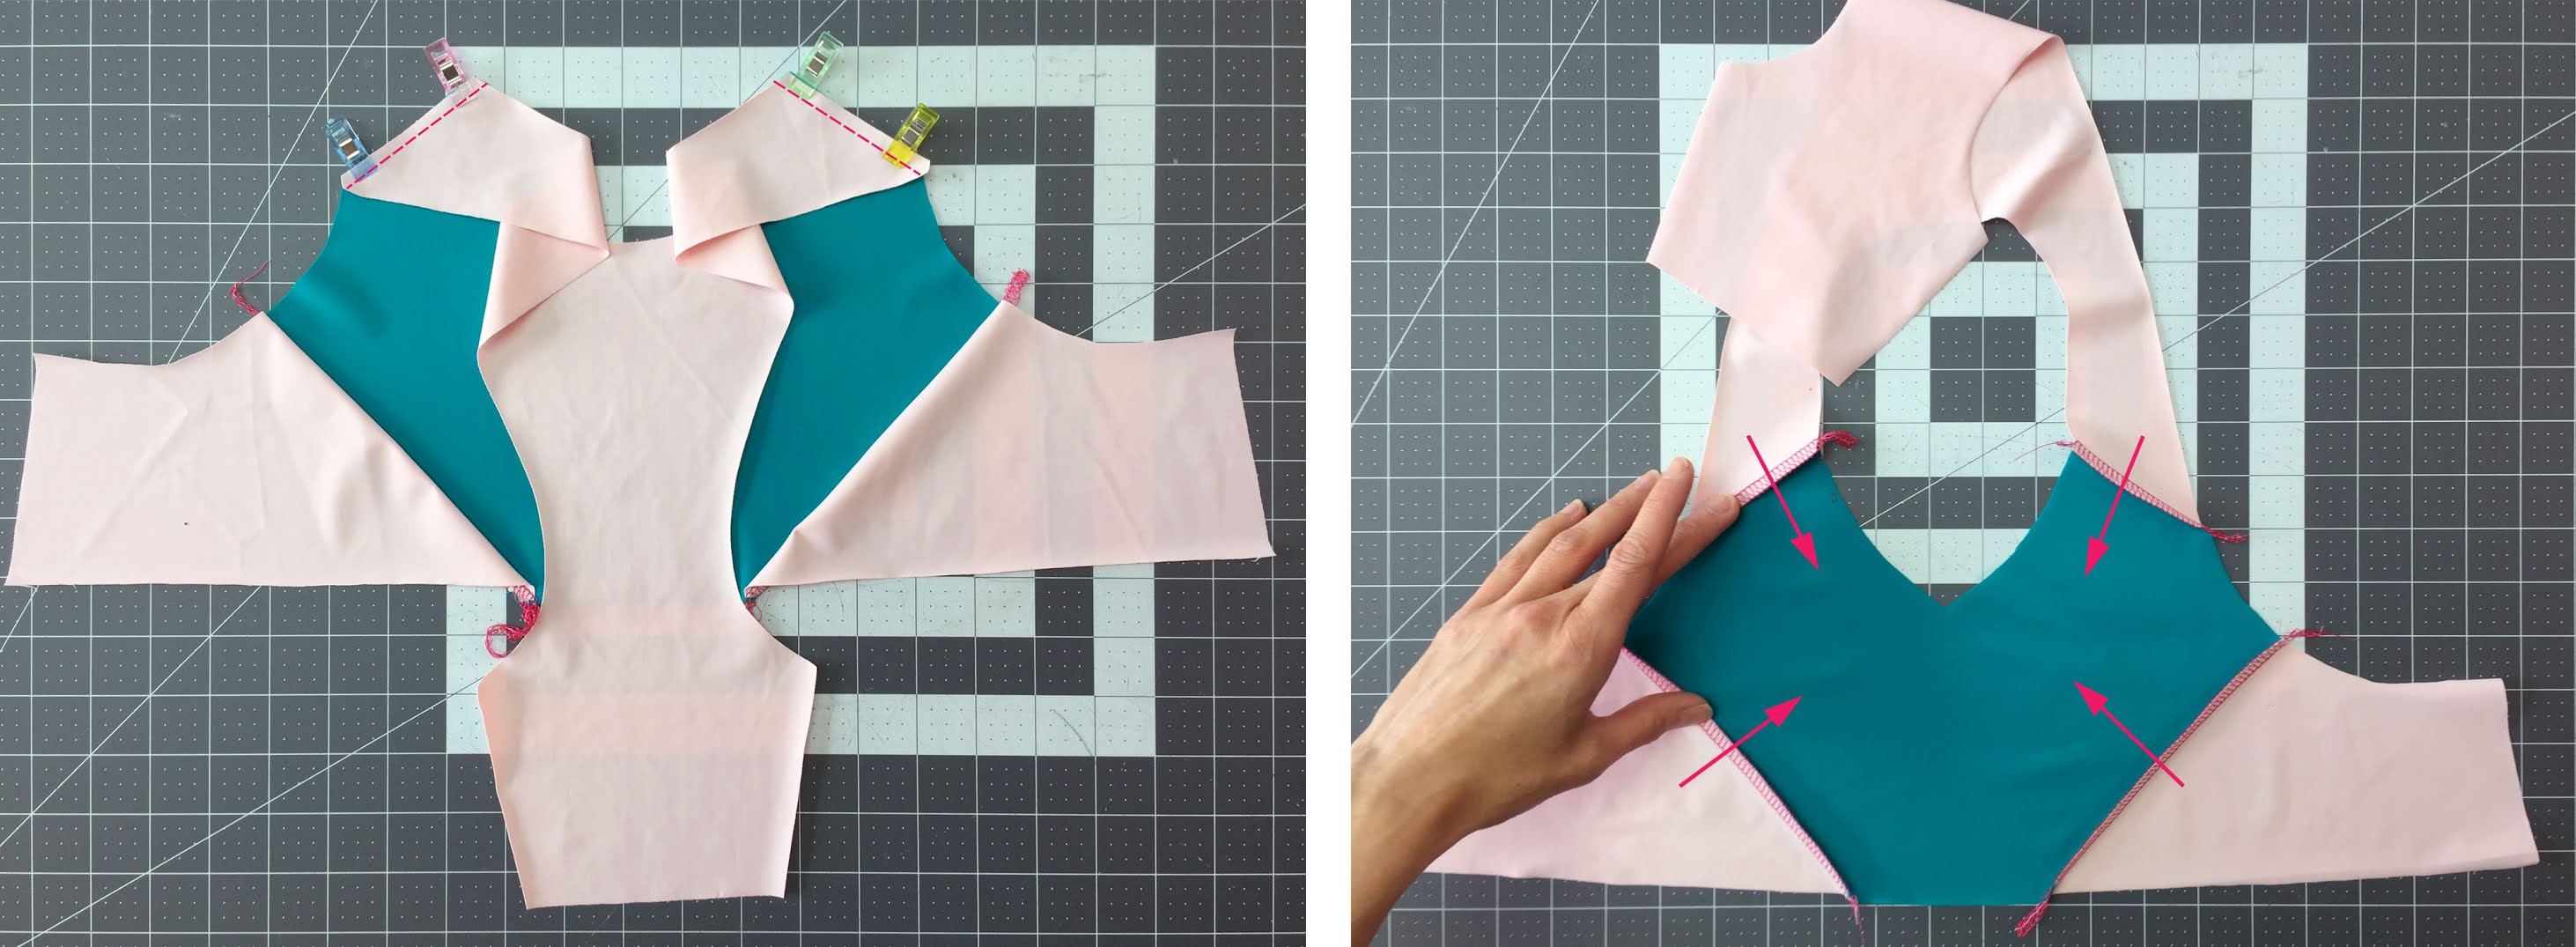
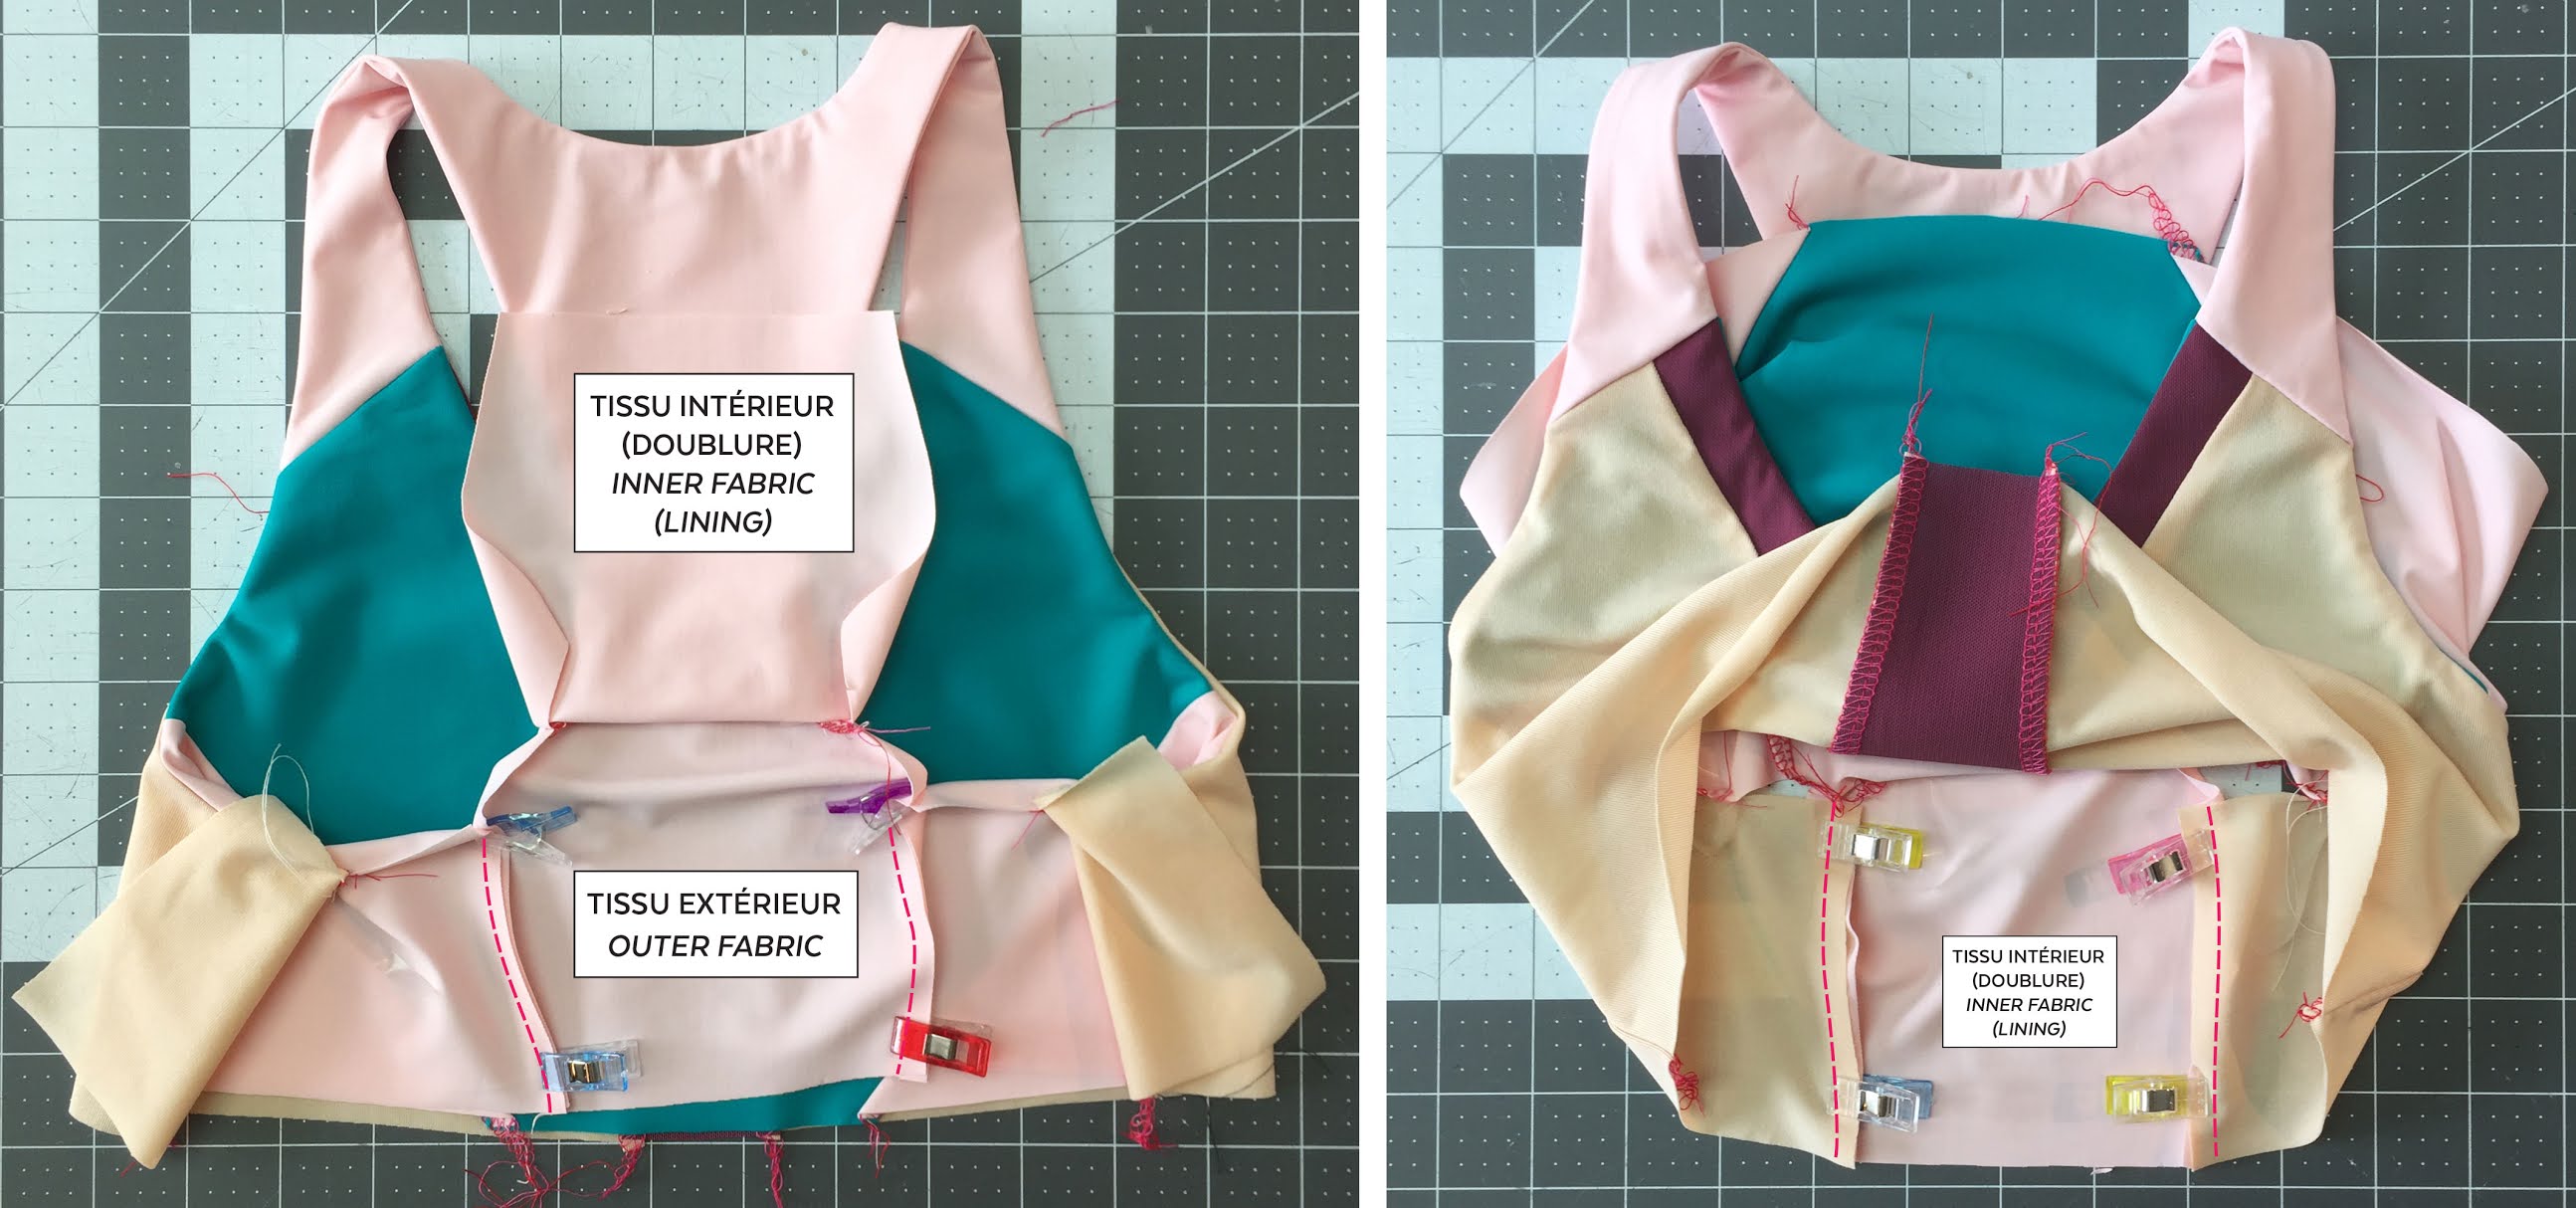
ARMHOLES
Bring wrong sides together like this: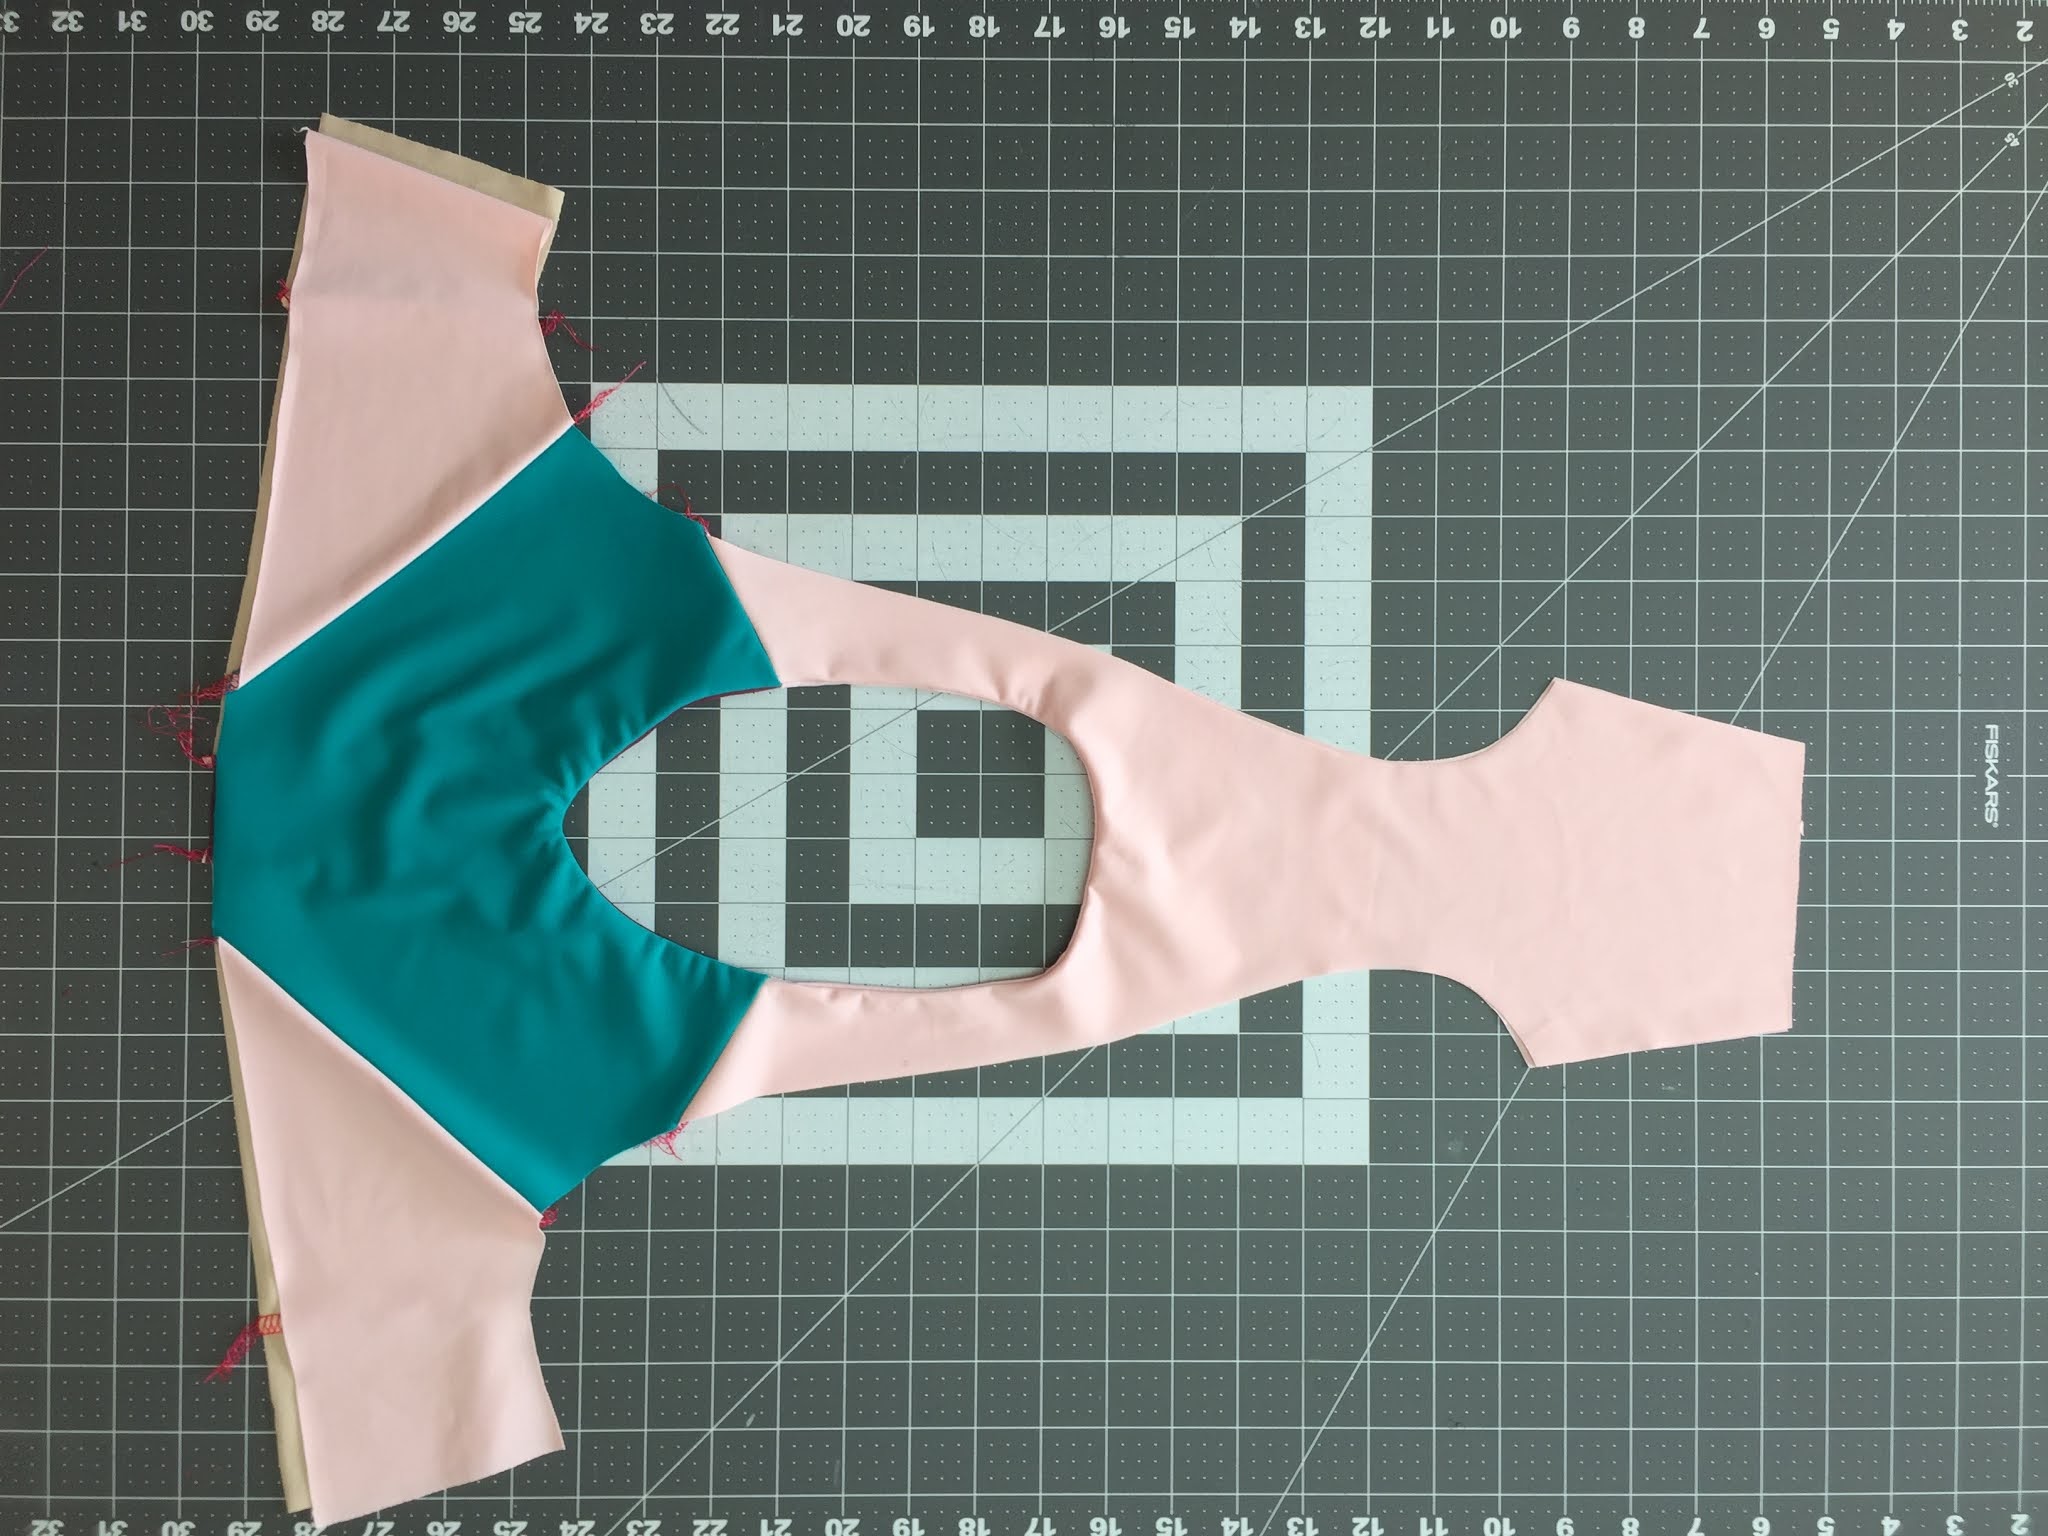
It's now time to bring the right armhole edges (main fabric and lining) right sides together.
Fold the main fabric over and then fold the lining under so that the layers are right sides together:

As you pin, starting at the corner, towards the armhole, the left side of the bra will be squished / sandwiched into a "tunnel". If you are familiar with the burrito technique, it's the same idea.
We made a short video showing how to manipulate the fabric: How to pin the COCO racerback armhole
Stitch, starting and stopping 5 cm (2'') from ends:
Be careful not to catch the "content of the burrito" as you sew. Stitch clear elastic to the seam allowance, covering the section that is not sewn (the elastic is the same length as the edge of the fabric). After the zigzag stitch, you will have 5 cm (2'') of free elastic at both ends.
Turn right side out and use the same technique to sew the left armhole and apply clear elastic:
BACK ASSEMBLY
Pin outer fabric strap to outer fabric sides, right sides together and stitch. Repeat for the lining:
Turn wrong side out, pin and stitch armhole to connect the previous seam:
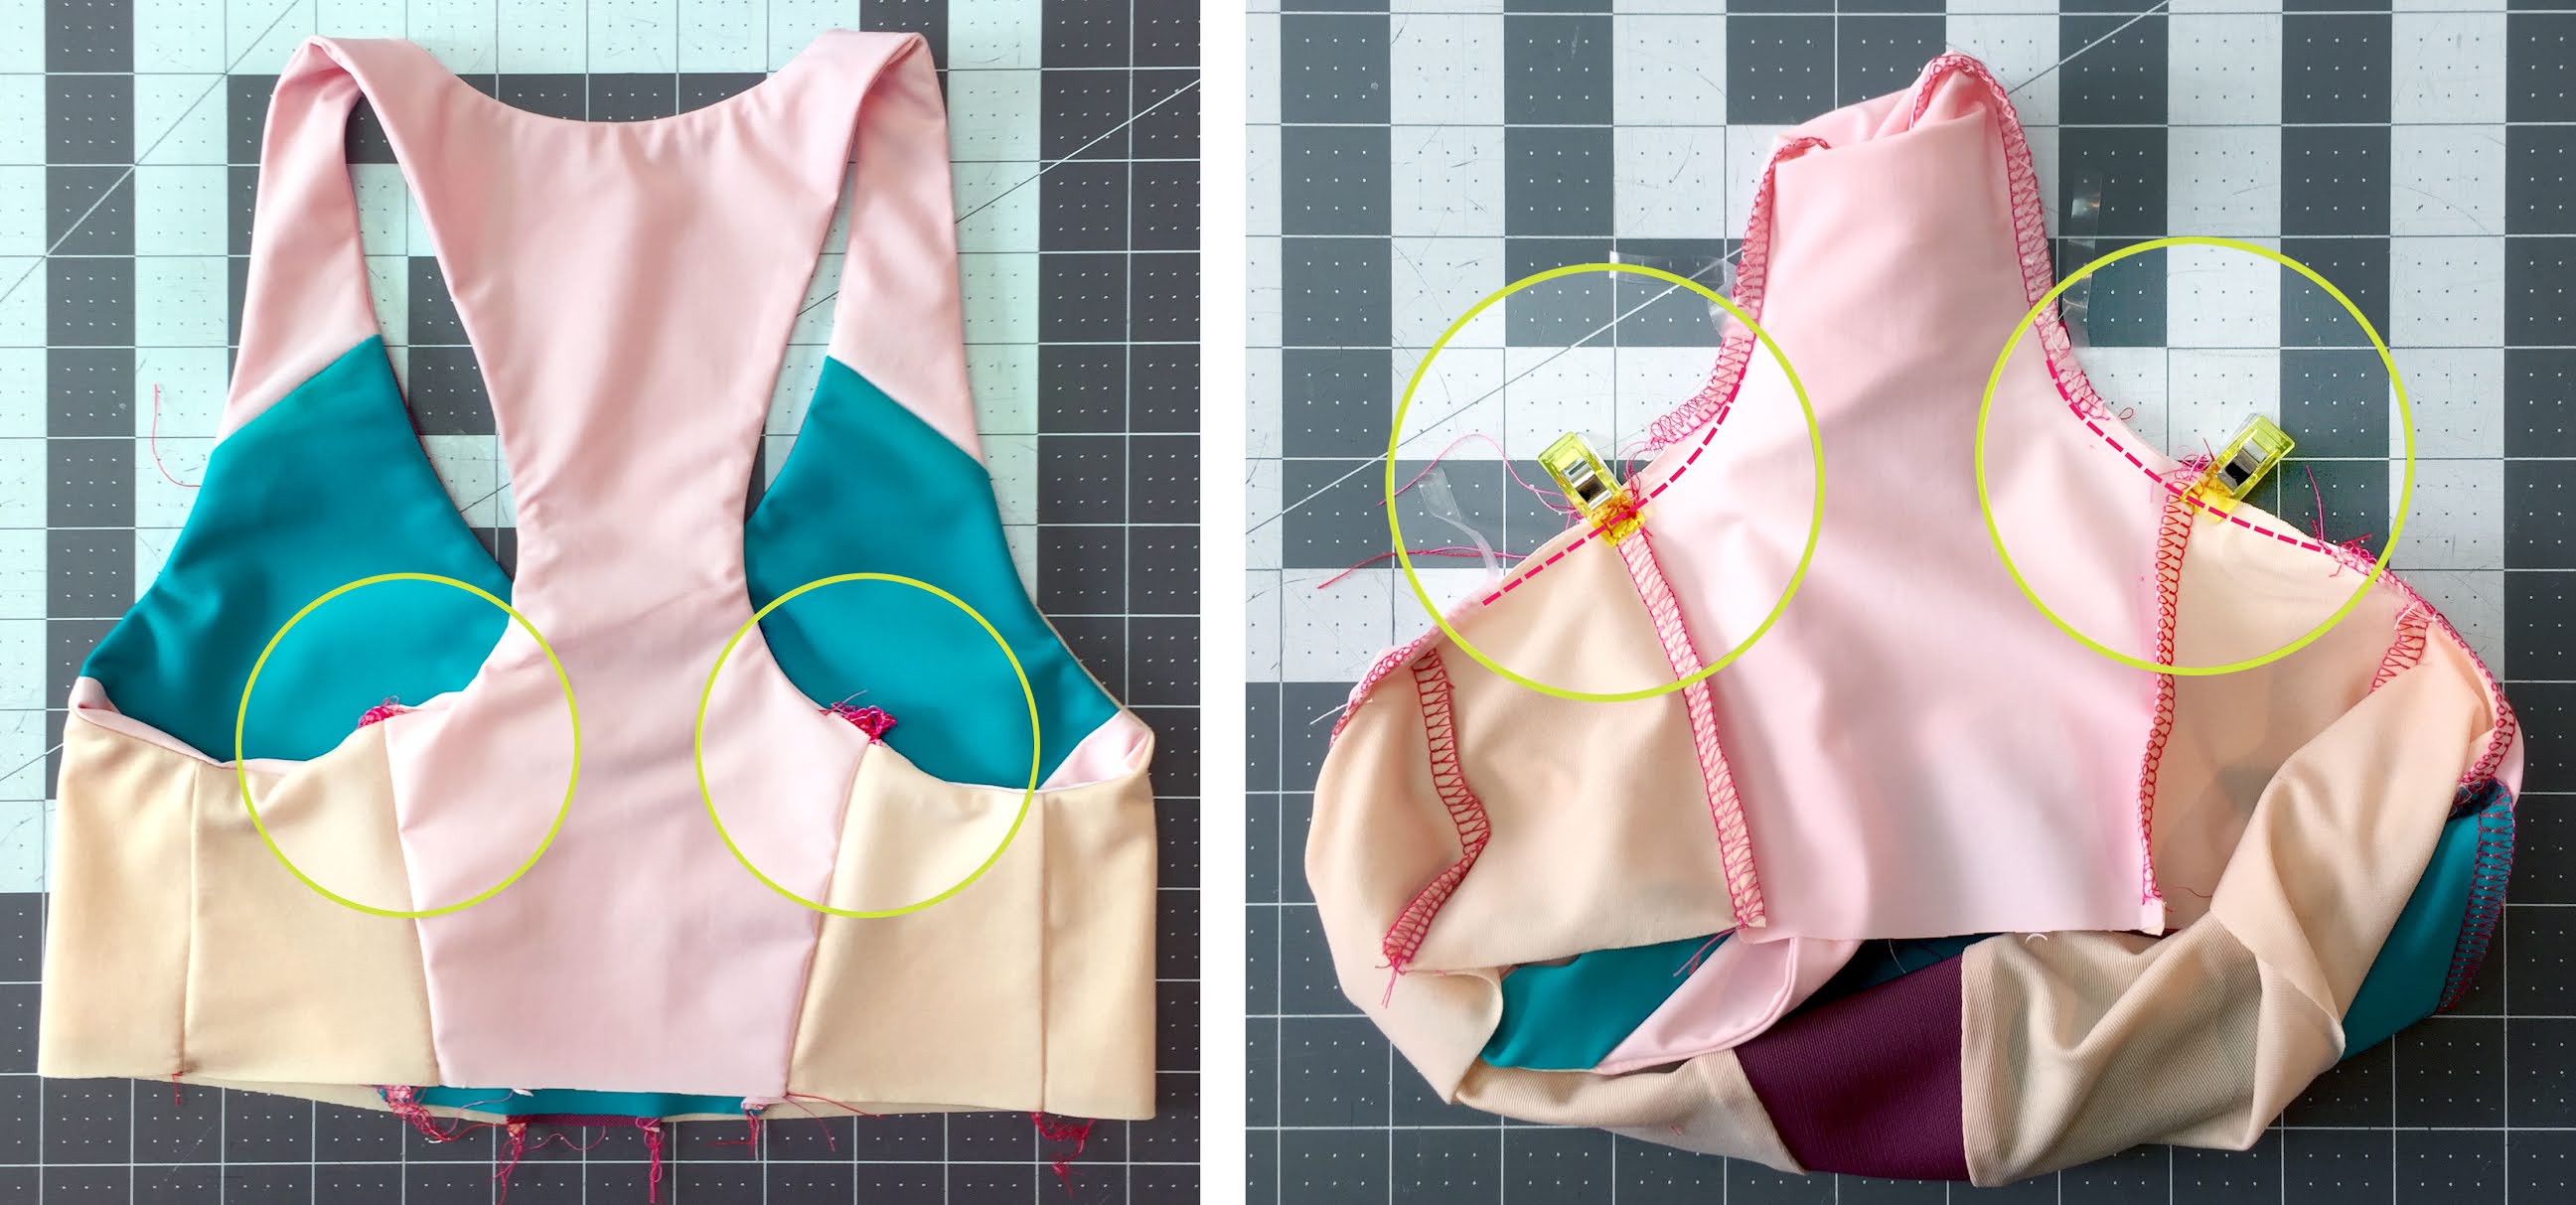
Pin and sew the free elastic ends in place with a zigzag. Bring wrong sides together and baste the bottom edges together with a zigzag stitch:

ELASTIC
All that is left to do is to sew the band and elastic at the bottom of the bra. The technique is the same as the one used for the other view.
Did you know that the COCO bra makes a great bikini top? Pair it with the GIGI bikini bottom and enjoy water sports with confidence :)
Bonne couture!
← FREDERIC HOODIE // TIPS AND TRICKS PART 1/2 COCO Sports Bra (X-Back Style) // Step-by-step Tutorial →