Clara without gusset
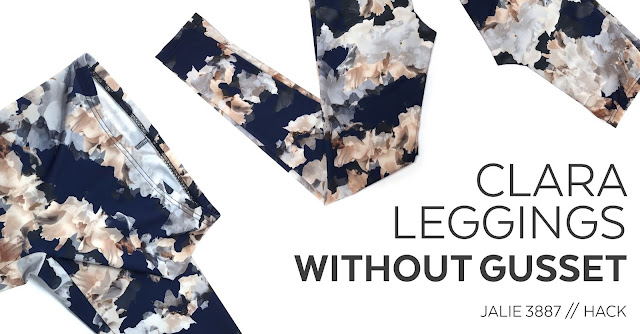
How to Make CLARA Leggings without a Gusset
When we made the outfit for the Nikita cover photo, we decided to go with a gusset-less version of the CLARA leggings. This tutorial will show you how to make this already simple garment even simpler :)
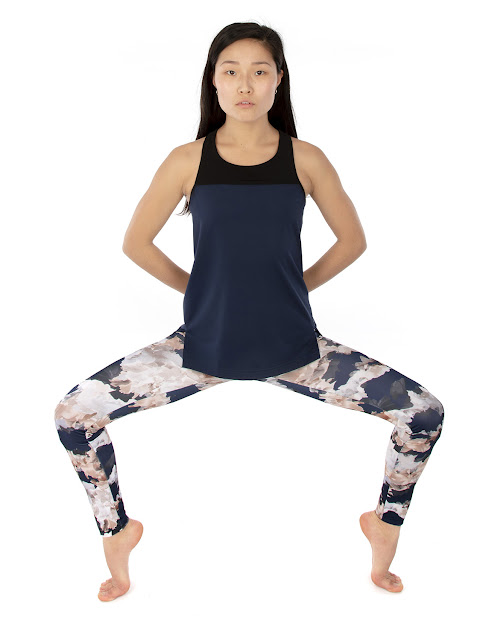 |
| NIKITA top with CLARA leggings (view B) (printed spandex from The Fabric Fairy) |
Many people have asked us if the gusset could simply be removed. The answer is: NO. The gusset cannot be omitted. In order for the leggings to fit, it has to be morphed with the main piece. This tutorial will show you how it's done.
GATHER YOUR SUPPLIES
You will need:
- Your CLARA Pattern (all the piece, including the gusset)
- Some paper scrap
- Tape
- Paper and fabric scissors (or rotary cutter)
- Pencil (s)
- Ruler
- Your fabric / elastic / thread to complete the project
MARK THE SEAM ALLOWANCES
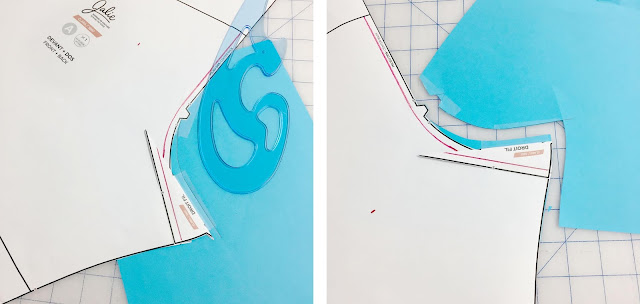
Along the back crotch, draw the seam line location, 6 mm (1/4'') from edge.
This line will be your guide for the next step. Fold the gusset in half (at the notch and tip) and put it over piece A, matching the seam lines.Tape the folded gusset in place. Since the paper gusset does not follow the crotch curve, you will have to redraw it. First, tape some paper under the piece. Then, with a French ruler, draw a new curve and keep the new straight edge 6 mm (1/4'') away from the gusset folded edge (this will create your new seam allowance). Cut along your line and you have your new pattern piece, ready to go!
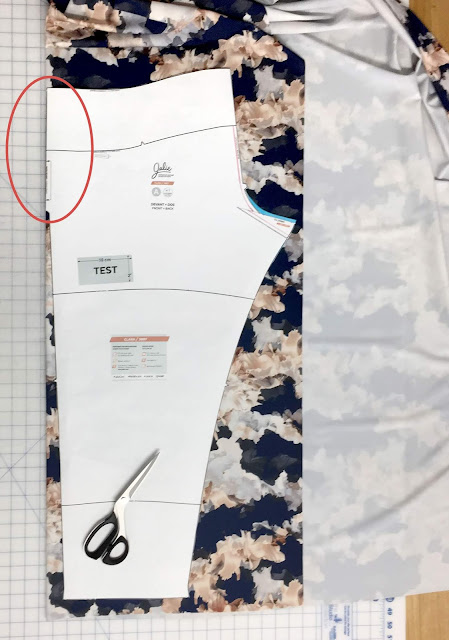
When you place your pattern piece onto the folded fabric, make sure the straight edge (center front) is at the fold, with the inseam going away from the fold. The following photo shows View B leggings (high waist finished with elastic). If you are making View A (with the waistband, the main piece would be cut at the lower line, as indicated on the pattern).
Before removing the pins, mark center front with little clips where the fabric fold is.
Sew a guide seam 6 mm (1/4'') from edge at front inseam, in the curve. Clip as shown up to the thread, but without cutting it.
Sew the back crotch, right sides together, matching the double notches. Pin front to back, matching the back crotch seam to center front. The clips at the front will help you "open" the front curve so it becomes straighter and easier to pin to the back inseam.
Stitch as indicated in the pattern, from ankle to ankle. Once you are done, you can reinforce the seam intersection with a tiny zigzag stitch, WITHIN the seam allowance to make sure it is not visible on the right side.
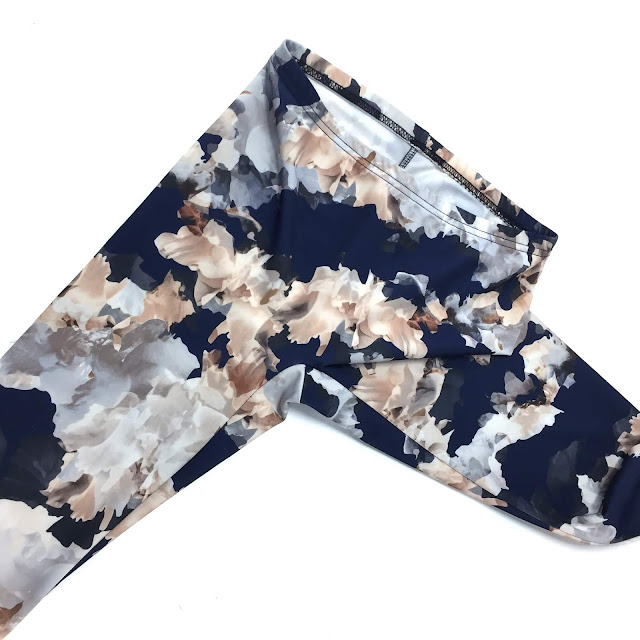
Here are the finished leggings! No center front seam, no gusset!
Happy sewing!
← 3248 / Drop Pocket Cardigan // Step-by-Step Tutorial Color-Blocked CLARA Leggings →


