

3350 Sewalong // Part 2 // Pattern & Sizing
Now that you have your fabric, pattern and notions, let's talk about the sizing and pattern.
SIZING
First, take a look at our one-piece swimsuit measurement chart. There are many sizes in that chart, so you can be sure we have the perfect one for you!
Forget about your ready-to-wear size or size you use in other patterns. Take your tape measure and measure (or have someone help you with that):
- Full bust
- Waist (smallest part)
- Hips (fullest part)
- Torso (center of your shoulder, over the fullest part of your bust, down between your legs and back up to the shoulder).
If you are lucky, all measurements will fall in the same column (or only 1 size up/down, in which case go with the middle size).
My measurements are all over the chart! What do I do?
Find the size that corresponds to your bust measurement. If your bust measurement is more than 2 sizes bigger or smaller than the waist/hips, use the bust to select the bust and contrast band pieces size and the waist/hips for the other pieces.
For example, you can sew a size V bust to a S swimsuit without any problem. From there you have two options:
- You can stretch the smaller piece to make it fit with the larger one when assembling
- You trace the front (E) and back (F or H) and copy the bust size line at the top of your piece (I prefer this technique to avoid stretching or extra gathers where the two sections meet.
- For example, if you are making S swimsuit with V bust:
- Trace size S as is
- Move your piece up so the center front corner matches size V center front corner
- Trace size V bust seam line
- Redraw the side seam
- You now have a size S swimsuit with size V bust and bust seam. This means you have to trace size V for the contrast band.

I have a long / short torso
If your torso is different from the torso measurement for the size you are using, please use this little formula to shorten / lengthen your bodice pieces

Try to lengthen/shorten close to waist level:

Gathered front pattern alteration
If you like the gathered front style, slice the front piece (E) above and below the waist notch and lengthen to double the length of the front side seam:
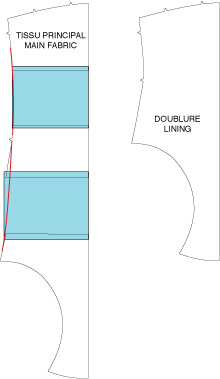
Keep a copy of the unaltered front piece because you will need when cutting the front lining.
Maternity swimsuit alteration
Maternity one-piece swimsuits patterns are pretty much inexistant in the market. A one-piece style can be tricky because the baby bump grows so much (and you don't want too much fabric at the beginning or too little towards the end...). Here are two posts that I really like and I think would be worth a try:
- Feather Flights' Tutorial for and adjustable ruched maternity swimsuit
PDF PATTERN
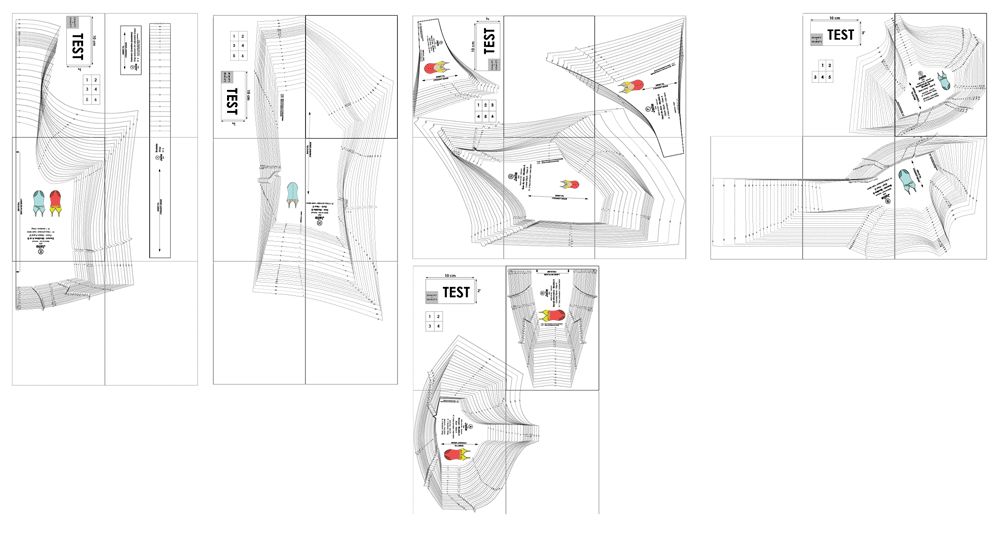
After you have saved your swimsuit PDF pattern to your computer, print it at 100%, measure the test square and assemble the tiles as instructed in our How-to guide.
We grouped the pieces by style so you have as little pages to tape together as possible:
|
|
|
PDF pattern grouped by piece / view |
Then you can trace or cut your pattern.
PAPER PATTERN
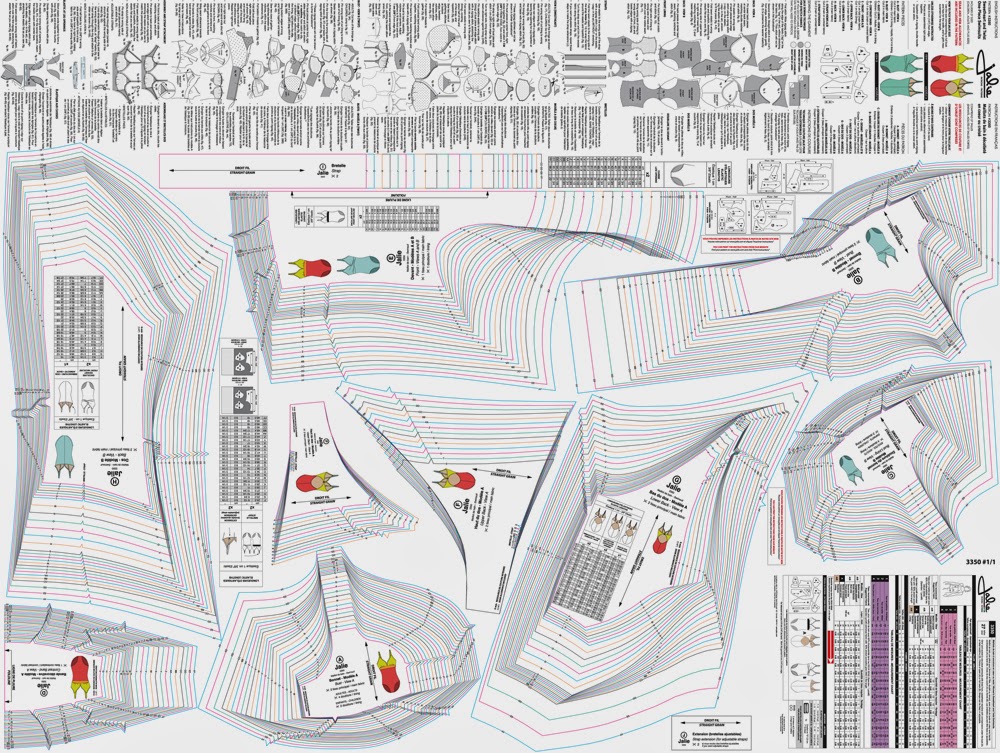
After a few days of stalking the mailman, you have your paper pattern - yeah! You can now cut it or trace if you want to save it (because you know your daughter/niece/sister/neighbour will want one too :))
|
|
|
Inside Jalie 3350 paper pattern |
There are many blog posts and tutorials online showing you how to trace a pattern. Donna and Rachel's blog post shows you the different alternatives. I'm really happy that they show my favorite technique: taping the pattern to a large window / patio door. This not only gives you great lighting, but it keeps your kitchen table free (and the pattern cannot be reached by those little hands who want to "help" you).
Funny little Jalie story
Imagine... early morning, early 80's... mom had been working all night (she would make prototypes during the night so I could try them first thing in the morning). She was looking for a tiny polo shirt collar stand piece. You know, the pattern piece shape that often accidentally makes it way to the garbage with other paper scraps. The piece had disappeared! And it was the original draft. She was tired and I assume she did NOT feel like drafting another one. Then she realized I was under the table playing with my Barbies. A mother's instinct... She said "open your mouth". I'm not joking. The piece had fallen off the table and for some weird reason, I decided that it would be breakfast... Yep, I would eat Jalie patterns for breakfast :) I don't remember her grounding me... She kept working with a chewed-up pattern piece... Ahhh the joys of sewing with kids around!
If you do not have a large window and don't have a crafts store nearby, get a roll of plastic sheeting at your local hardware store and grab a Sharpie. It works very well and you see our beautiful full-color pattern lines lines much better!
WHICH PATTERN PIECES DO I NEED TO CUT/TRACE?
Front:
- View A (sweetheart): You need pieces A + D + E
- View B (twist): You need pieces B + C + E
Back:
- View A (open back): You need pieces F + G
- View B (closed back): You need piece H
Straps:
- Fixed straps : You only need piece I
- Adjustable straps: You will need pieces I + J
PATTERN INSTRUCTIONS
Just like a recipe, it's always a good idea to quickly go over the instructions to have an idea of how the garment will be constructed. I strongly recommend you print the instructions or save them on your tablet. I love reading instructions on my tablet because I can zoom in on smaller illustrations, I save paper and I never lose them!
In the next post, we will cut the fabric, lining and elastic.
← 3350 Sewalong // Part 1 // FABRIC & SUPPLIES 3350 Sewalong // Part 3 // Cutting →