 Skip to content


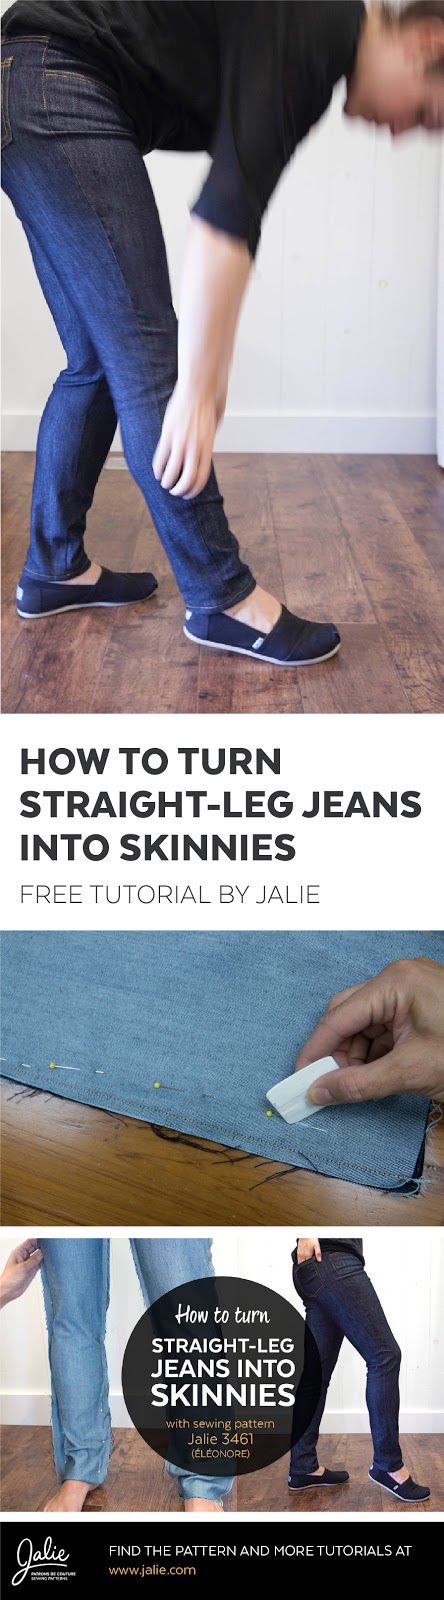
How to Turn Straight-Leg Eleonore Jeans into Skinny Jeans

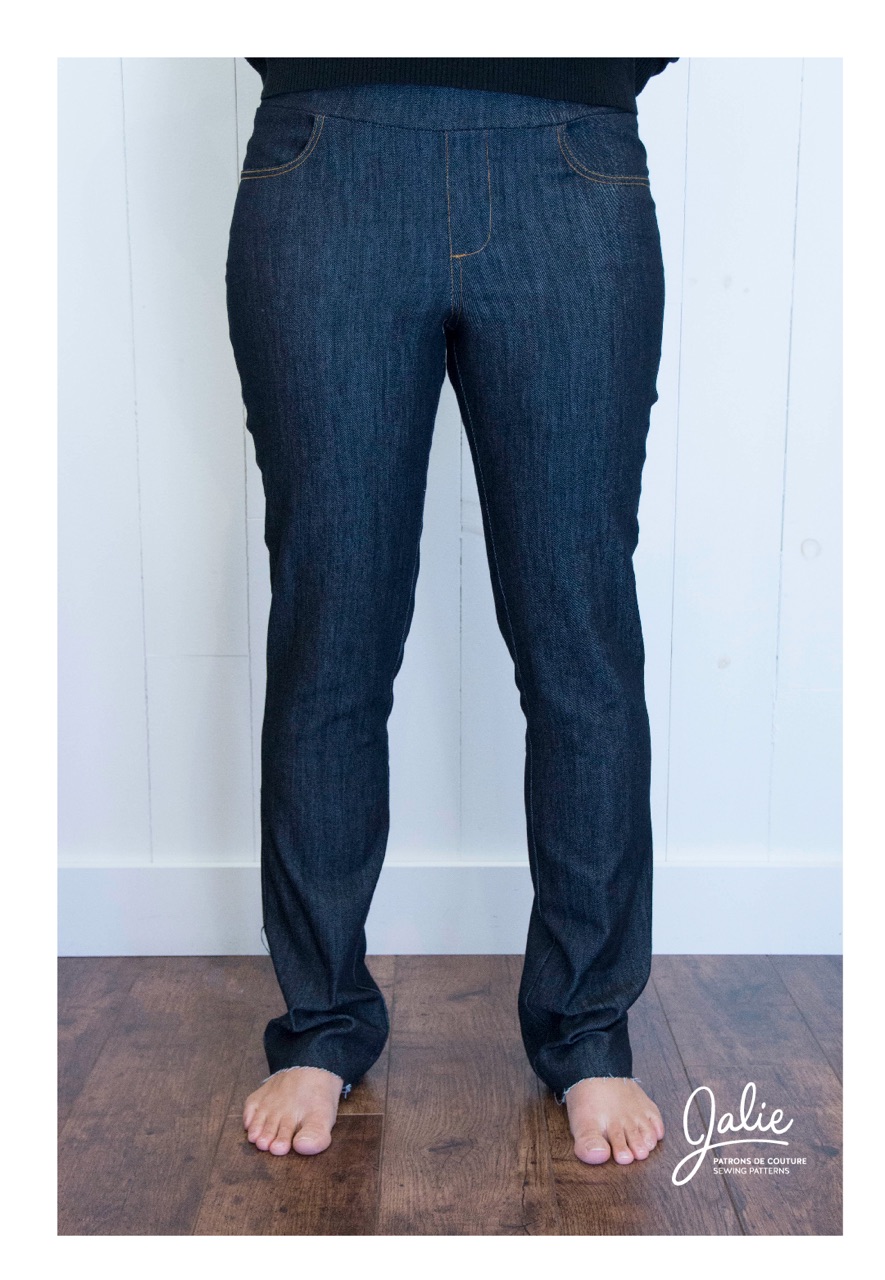
When we designed our now über popular Éleonore Pull-On Jeans, we went with a classic straight leg to make sure everyone's calves would be covered. We know that skinny jeans are a staple in many peoples' wardrobe and we knew many would want their jeans fitted all the way to the hem.
Since not all legs are created equal and because fabric stretch can make a huge difference in the amount you have to take it for the transformation, we did not venture into giving people exact measurement.
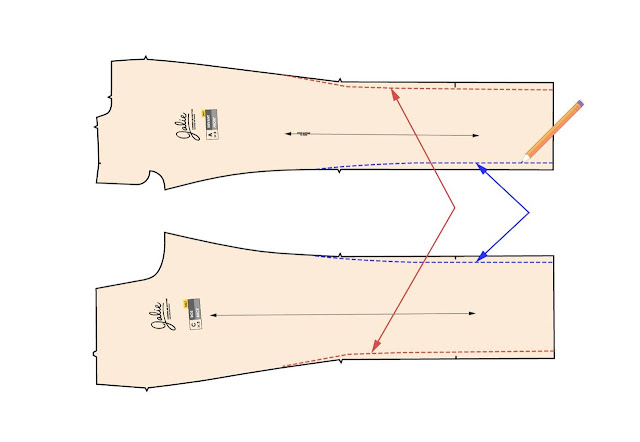
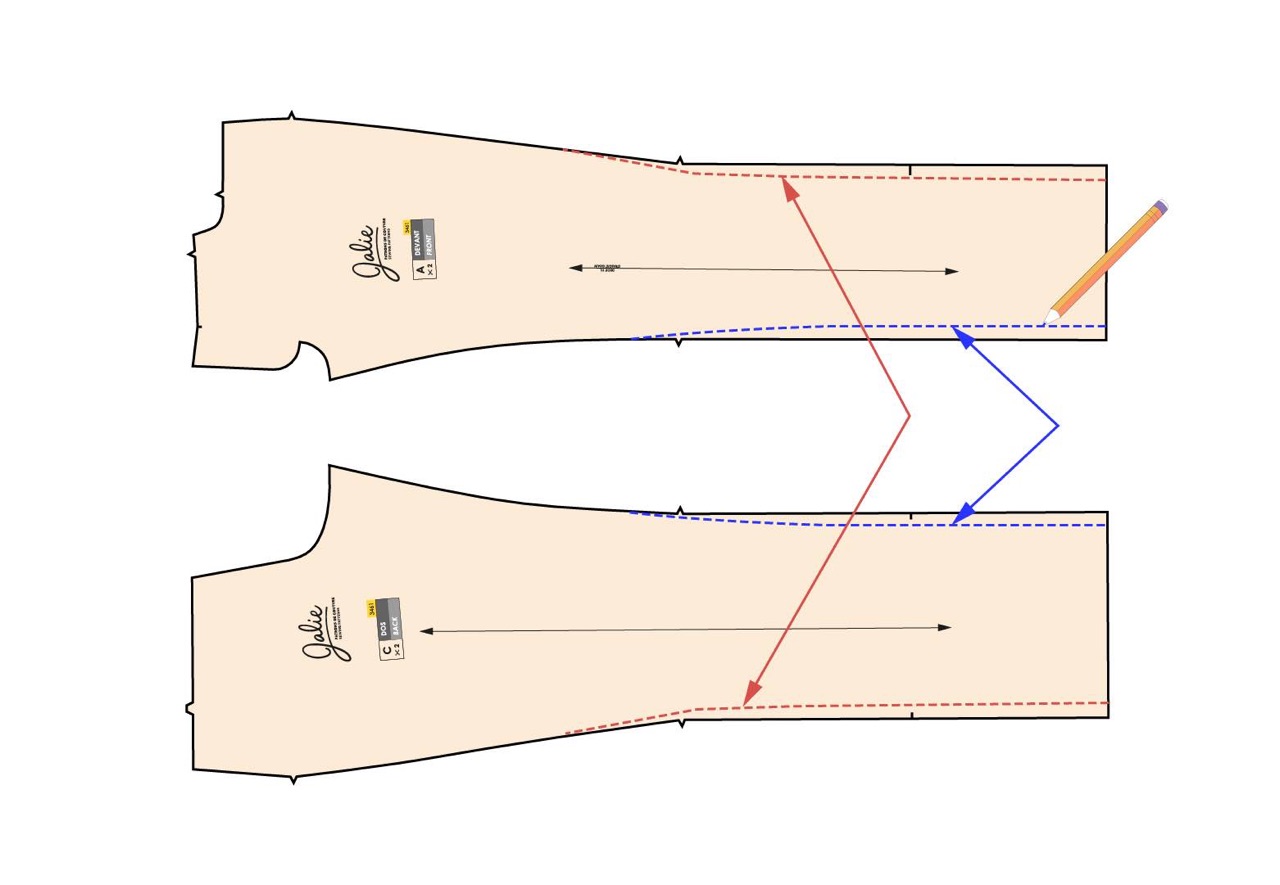
Instead, we went with a simple diagram showing where to start taking them in. We thought #EleonoreWeek is a good timing to publish this more detailed tutorial, where we show you how to take your straight leg in the right way and... end up with two identical legs :)
We saw strange things on YouTube that would lead to crooked jeans. We think this post will be useful not only to people making the Eleonore pull-on jeans, but to anyone upcycling older jeans or patterns.
Let's get started
Marking the new seam line
 |
| 1 - Make your Éléonore jeans as is but SKIP THE INSEAM TOPSTITCHING. It is the only compromise you have to make for your first pair :) If you finish your seams with your serger, stop at the hips. |
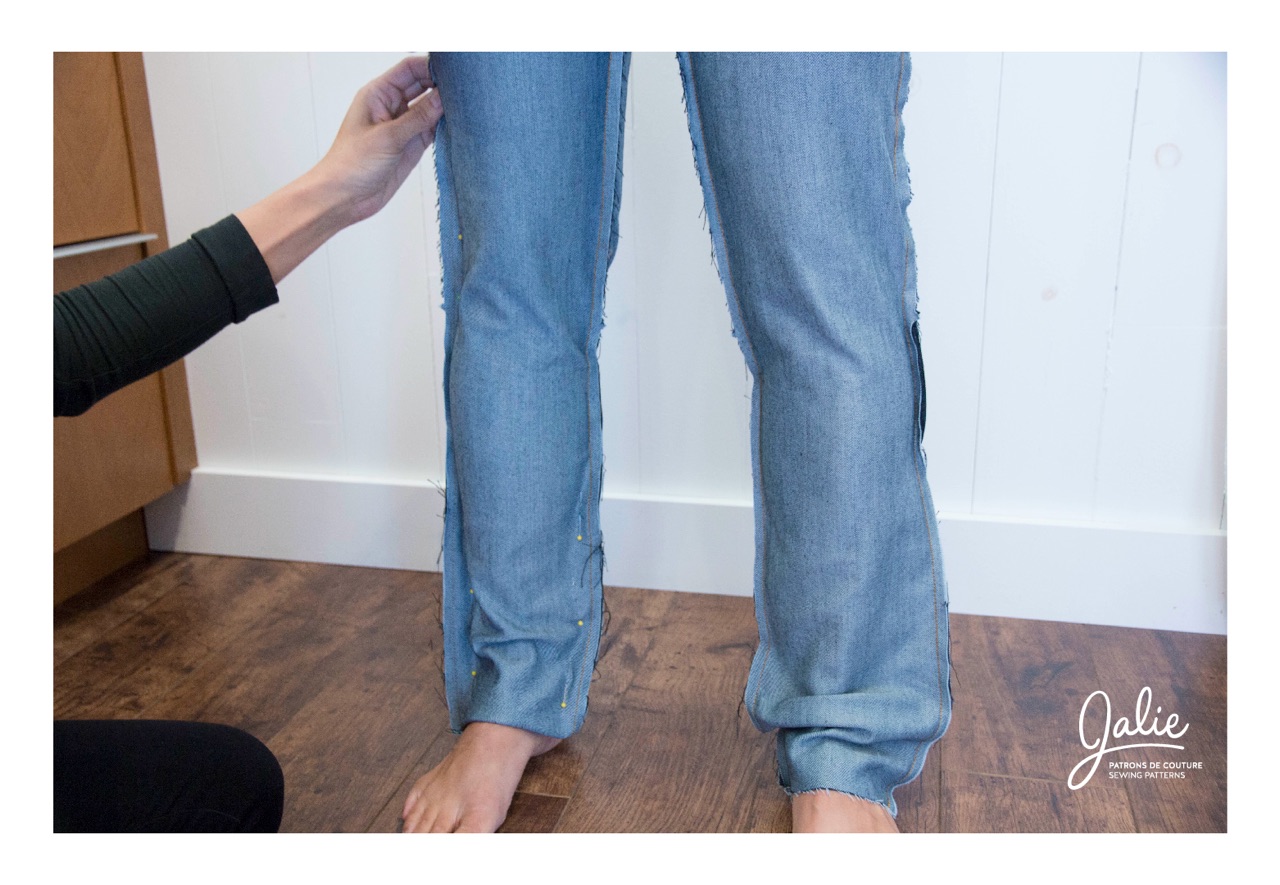 |
| 2 - Turn the jeans inside out and put them on. 3 - Pin along ONE leg (vertically), where you would like the new seam to be. It's good to have a sewing friend for this step! Start at the bottom, where you pin the same amount on both sides of the leg to keep the leg centred and straight. Pin all the way through the thigh but stop at the hips. |
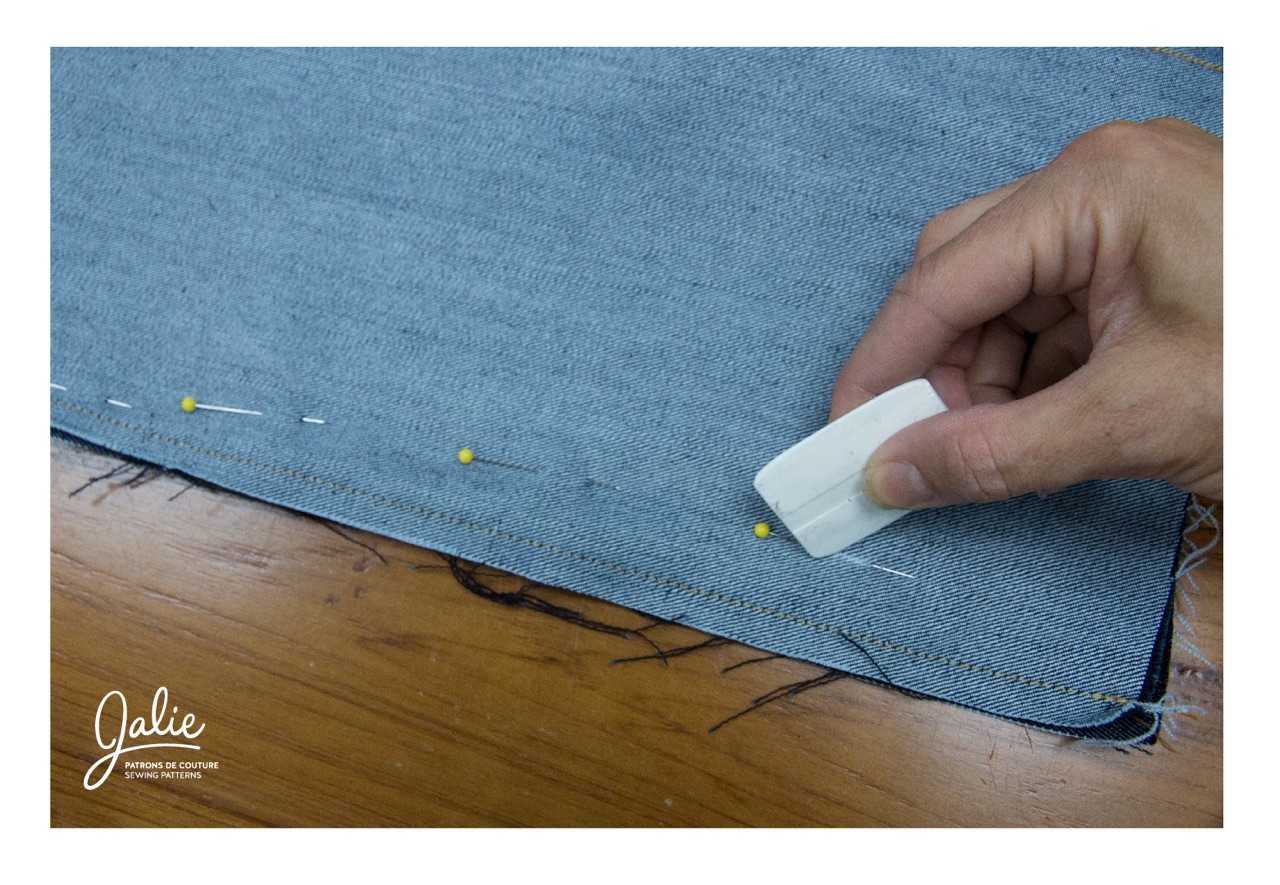 |
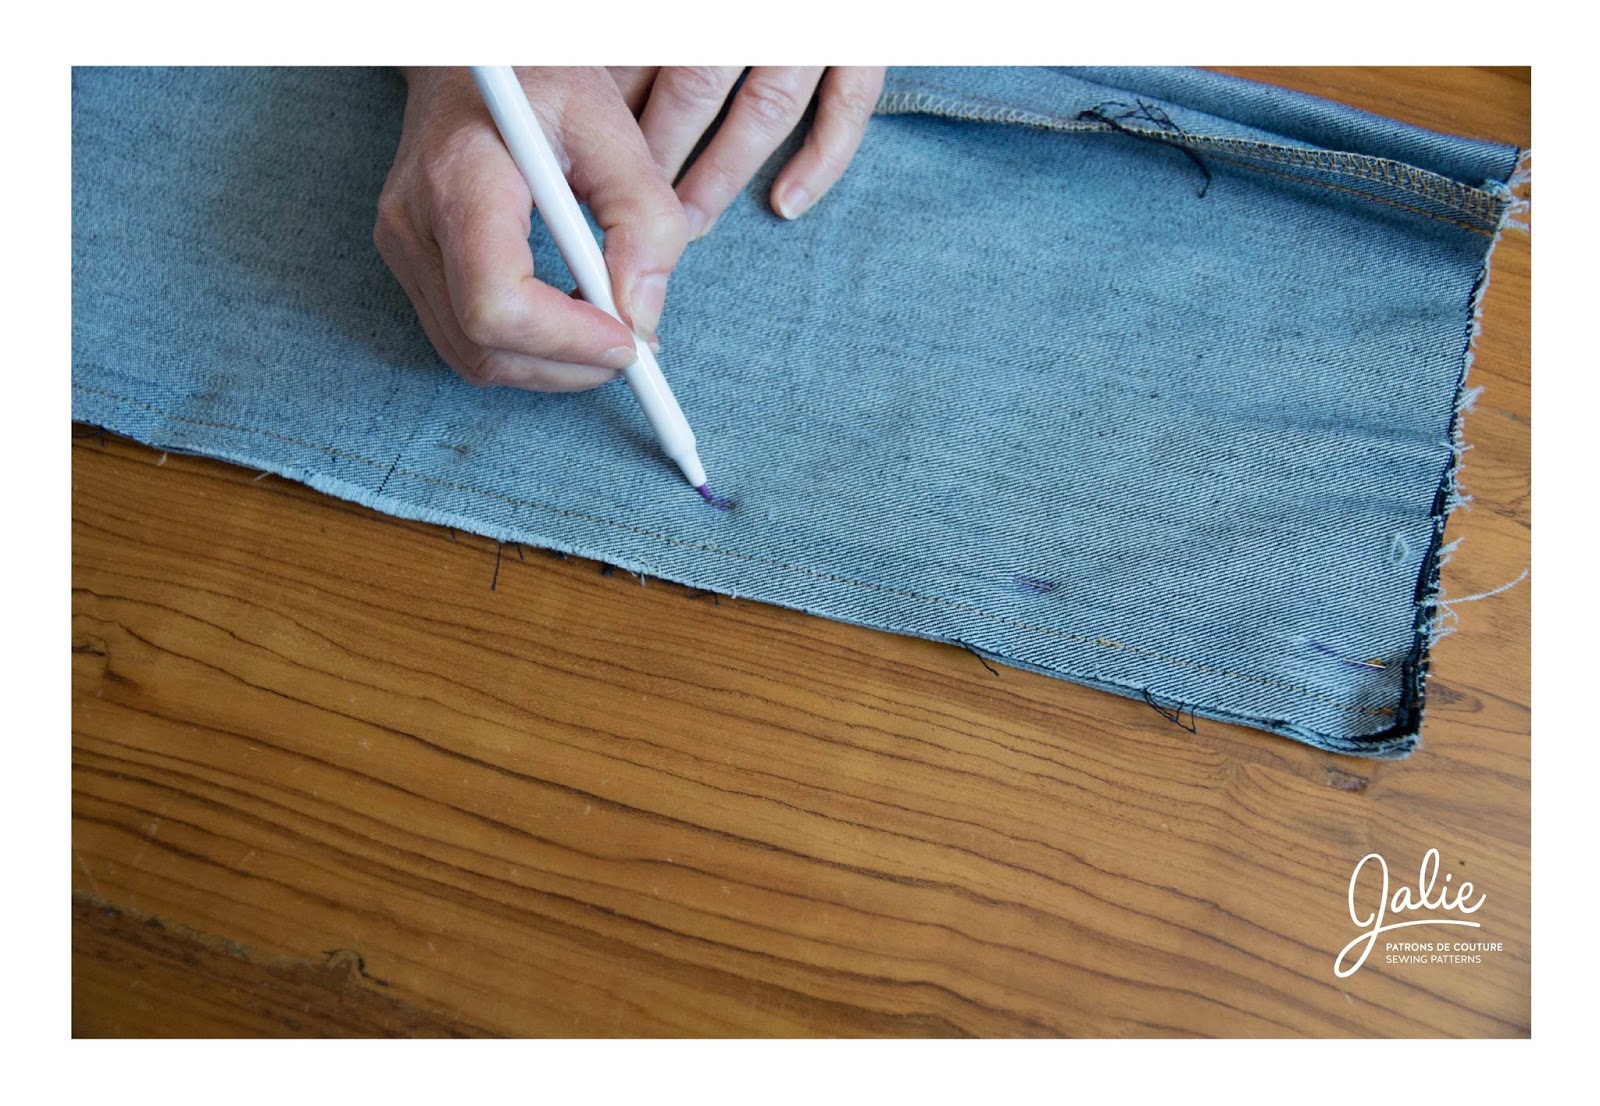
| 4 - Take the jeans off (careful not to scratch yourself with the pins!), mark the pin placement (the new seam) next to the inseam and side seam. Remove the pins and connect the marks with a ruler. |
 |
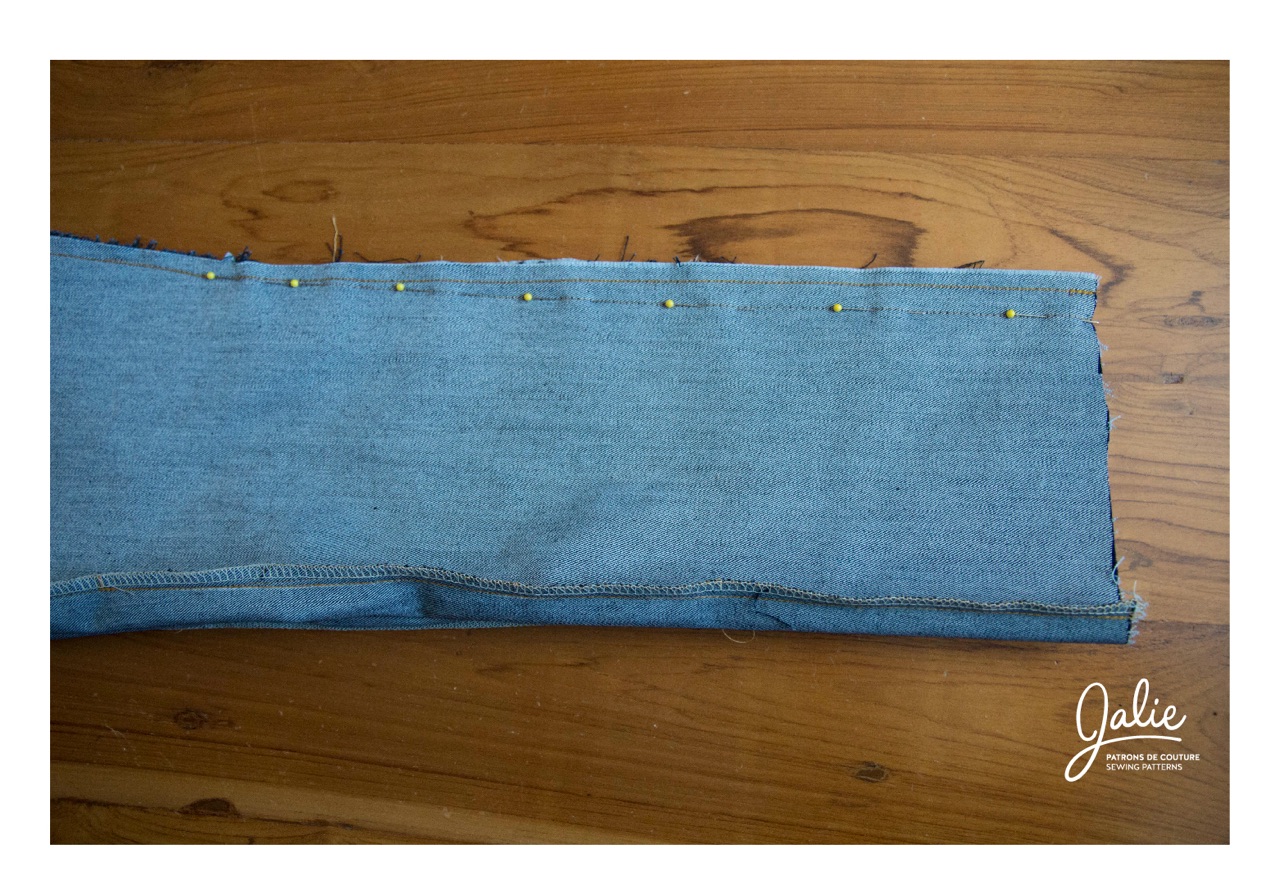
| 5 - Baste with a long straight stitch on the lines. |
 |
| 6 - Turn right side out and try the jeans on. If you are happy with the skinny leg, go to step 7. If you need more adjustments, pin / move the seam until you are comfortable. Mark the final length you want too (skinny jeans are shorter than straight leg jeans). |
TRANSFERRING THE MARKS TO THE OTHER LEG
With this technique, you make sure that the exact same adjustments are made to the second leg!
 |
| 7 - Fold the pants in half to lay one leg over the other. Make sure the inseams are together, side seams together. |
 |
| 8 - Pin on the new seam, through the four layers of fabric. |
 |
| 9 - Flip the legs and mark the visible pin segments |
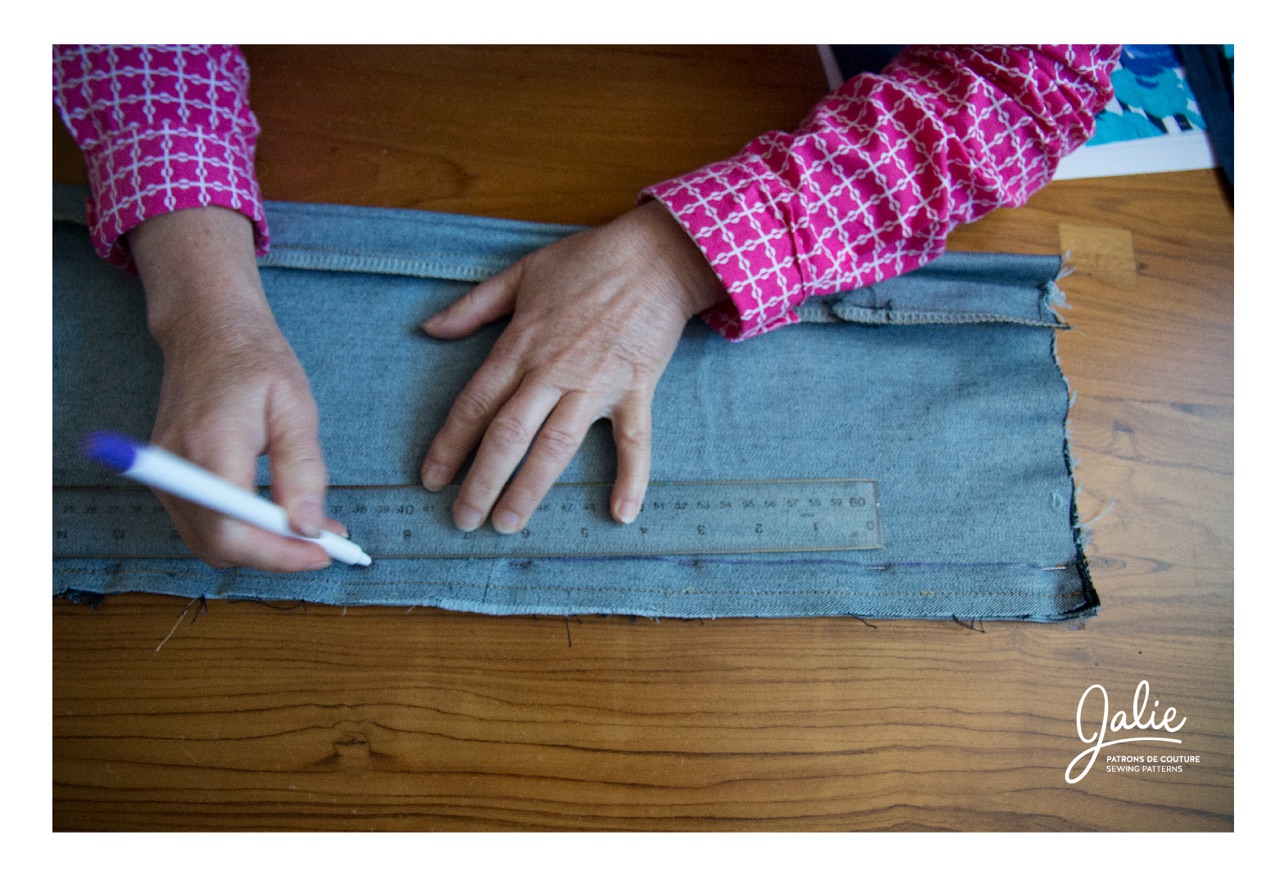 |
| 10 - Connect the marks so that your new seam line is clearly visible |
Stitch on the lines on the second leg and try the jeans one last time. It fits great?
- Stitch again over your basting.
- Trim the seam allowance 1 cm (3/8'') from the new stitching line.
VERY IMPORTANT: Keep your fabric scraps (and remember which one is the inseam, which one is the side seam) - Finish with your serger or zigzag stitch.
Use the fabric scraps to transfer your modifications to your pattern for your next pair because we all know that you can never have too many Eleonores in your closet :)
You enjoyed this tutorial?
Don't forget to pin the image below onto your Pinterest board!
Share photos of your Éléonore Jeans in our Facebook Group, our Photo Gallery and on Instagram with hashtag #JalieLife #JalieEleonore #SkinnyEleonoreJeans
← The story behind the Marie-Claude Pattern Wireless Bra // Video tutorial →