 Skip to content


3350 Sewalong // Part 4 // The Open Back
For the first step, we will show you the technique for the regular sewing machine. On all other steps, we will use a serger whenever it's possible.
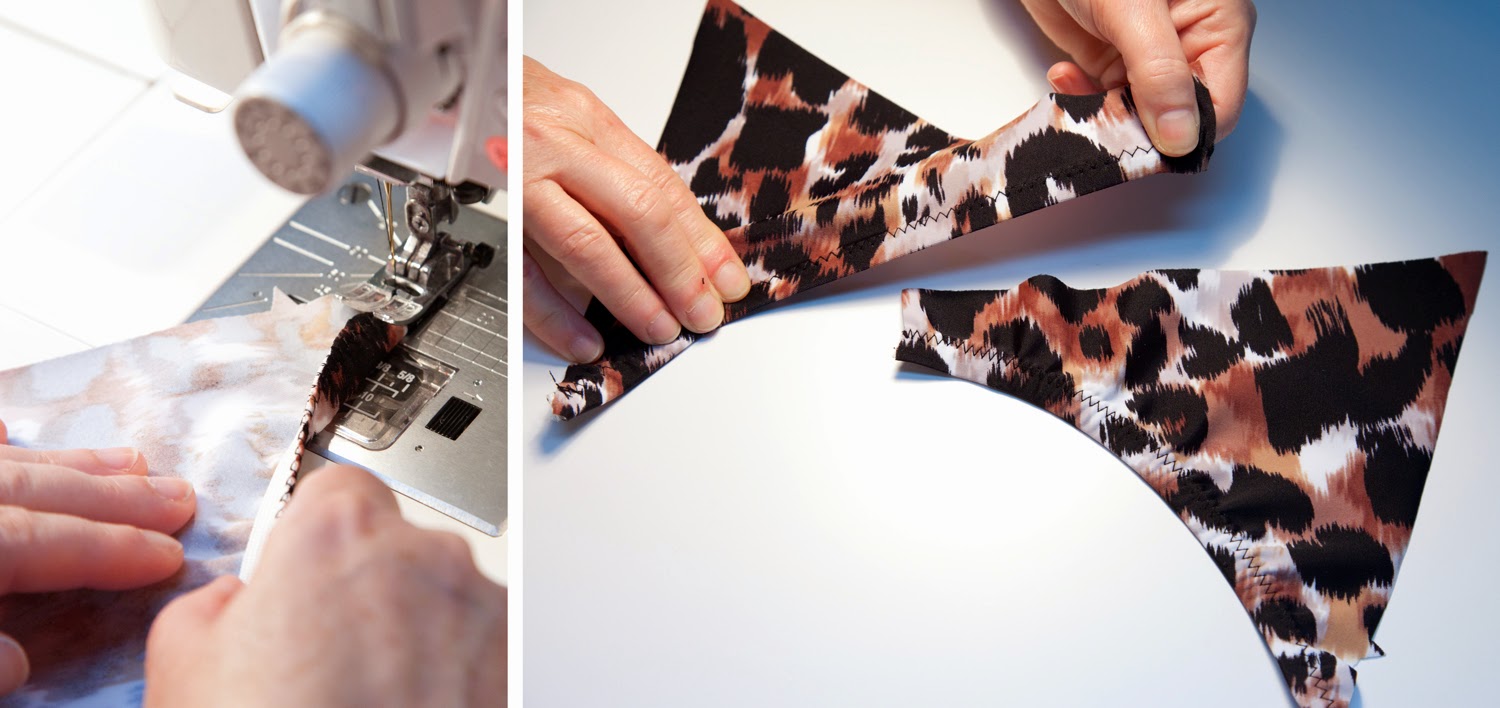
Center Back Seam
Pin Lower Back pieces (G) together at center back seam, matching the double notch. Then sew with a zigzag along the edge ("zig" on the fabric, "zag" in the air) WITHOUT stretching the fabric:

Sew with a straight stitch, 6 mm (1/4") from edge, stretching your fabric gently. Sew another straight stitch.

Now you have a sturdy, stretchy center back seam!
Back Elastics
Upper Back
Place the Upper Back pieces (F) as shown, with the notch towards the bottom to identify the correct location for the elastic. Pin the elastic (at both ends) and sew a first zigzag (medium-large), stretching the elastic so it lays against the flat fabric (do not stretch the fabric).

Turn the elastic to the wrong side (the elastic nice and snug against the crease - you don't was any space between the elastic and fabric) and sew a slightly smaller zigzag (or use your cover stitch) for a nice finish on the right side.
Lower Back
Fold the lower back elastic in half and mark its center. Pin the elastic to the wrong side of the lower back curve, at ends and center (matched with center back seam).

When sewing your elastic, remember to pull just enough to have the elastic against the flat fabric. Do not stretch the fabric. If you do, the sewn elastic will not fully recover and the piece will not be flat when you are done.

After your first zigzag, fold the elastic and topstitch.

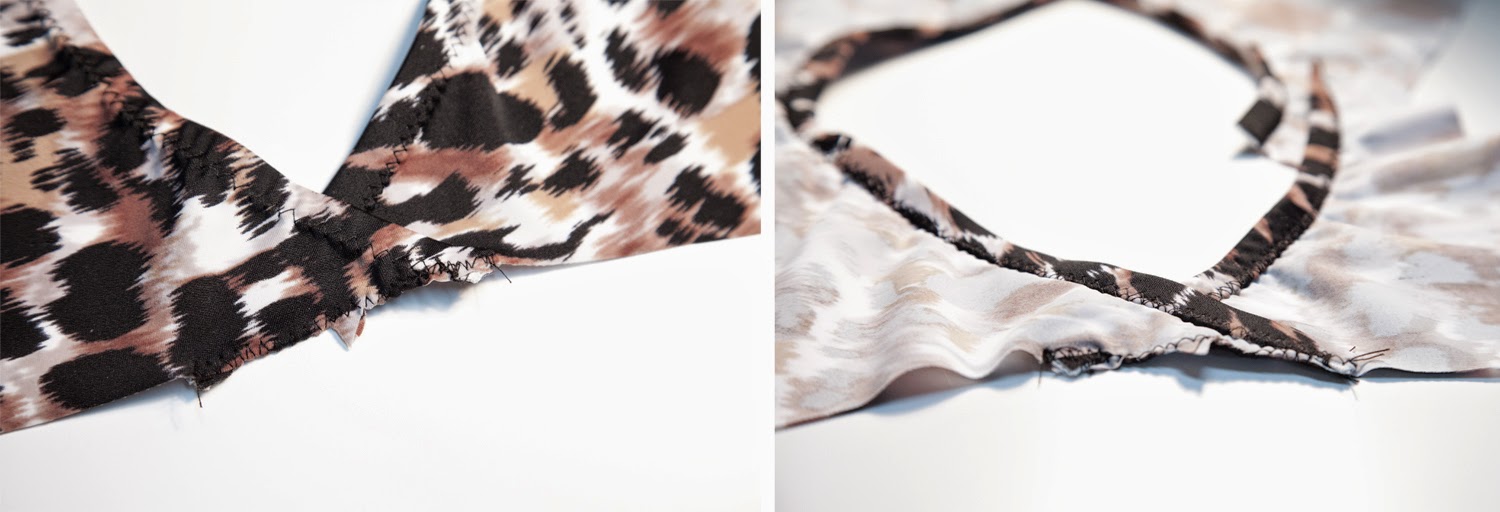
Pin Upper Back (F) over Lower Back (G), matching the side seam notch and baste together with a zigzag stitch.

Sewing the front to the back
Pin right side of Front (E) to right side of Lower Back (G) at crotch seam, matching centers, and baste with a zigzag.
Pin right side of Front lining to wrong side of Back and stitch. We always baste with a zigzag before sewing on the serger. It keeps the layers together and is much easier to undo if the layers slip.

*********************************************************************************
IF YOU ARE MAKING A GATHERED FRONT (we will add illustrations in view B post):
- Sew gathering stitches within the side seam allowances on your front main fabric pieces, starting and stopping about one inch (2,5 to 3 cm) from top and bottom corners.
- Gather the side seams so they become the same length as the lining piece.
*********************************************************************************
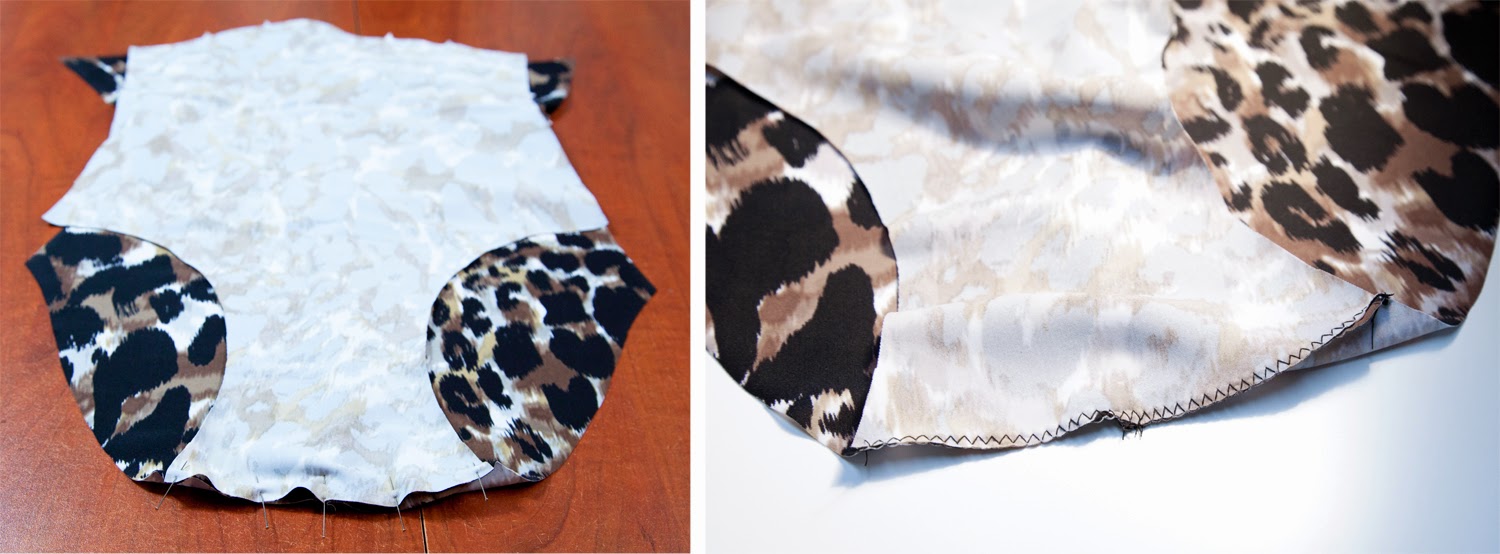
Flip the lining to the wrong side of the front and pin the layers together, matching center fronts and notches.

Baste with a zigzag all around.
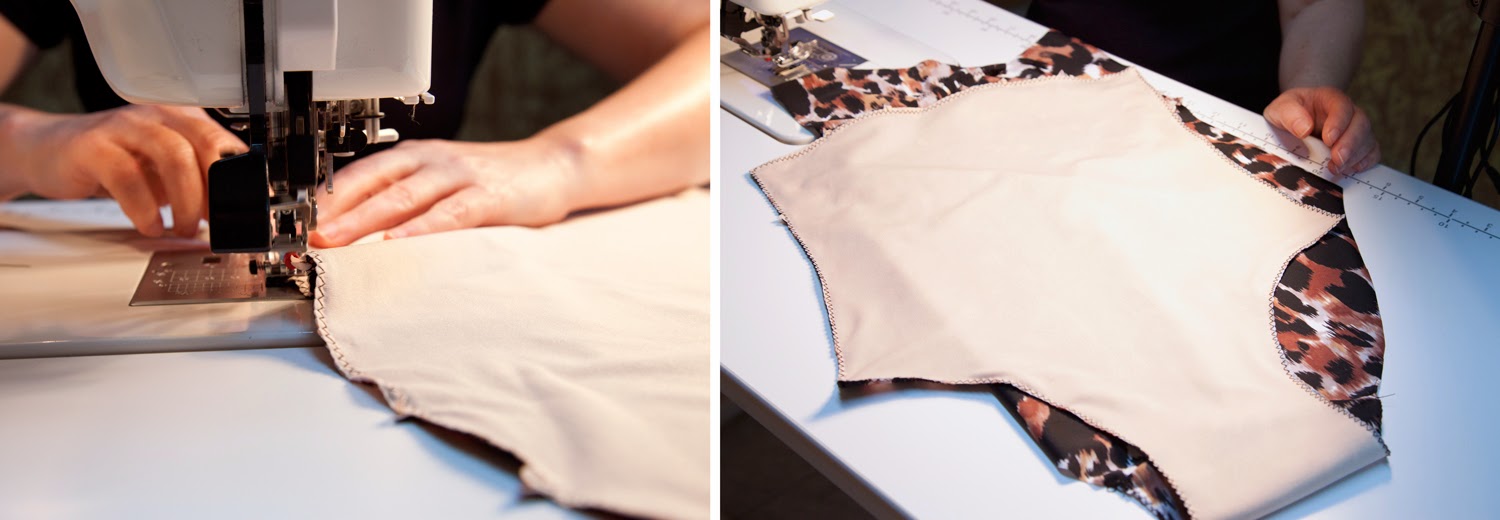
Congratulations! You are now ready to work on the bust pieces.
← 3350 Sewalong // Part 3 // Cutting 3350 Sewalong // Part 5 // Neckline + Back →